Venora's Vintage

  • Home
  • Recipes
  • Loves
    • Kitchen
    • Blogroll
  • Resources
    • Forum
    • Pyrex
  • About

Will Bake for Good Friends

February 21, 2017 by V in Baking, Vintage Pyrex

This weekend, I had a special friend, Rachel, over for lunch. Someone, who recently has inspired me to not only do what's comfortable, but to stretch and reach into that creative nook that rests sleepily inside of me. With having to "get it together" in so many facets of my life, sometimes I forget the fulfillment that comes from attempting to create, even if the end result isn't quite at the caliber that I wish it to be if I had spent more time nurturing the few artsy sparks that flicker around. I need to learn to not ignore those moments, but the better strategy may be actually making the space in my life to kindle the fire.

Making space means creating an environment where it doesn't seem like a hassle to do something creative. I equate this to the feeling I have when I am alone and hungry. Often, I think it most easy to go to a nearby drive thru or better yet, reheat some leftovers, and call it a meal because it's too much work to cook up a storm. When I'm in a good place and want to entertain friends, I like to make something home made to share. Even if it that means that I have to pull everything out of the cupboard to look for a specific vintage cake pan from my ever growing collection. Even if it means I have to put it all away when I find the item I need way in the back corner. Even if it looks from my kitchen like I got robbed. Maybe that's why I need to surround myself with people that inspire me. It makes me think life is worth the mess.

I was looking for the #221 Flamingo Pink Pyrex cake pan I bought five years ago on craigslist from Carolyn who now is a dear friend because she shares so many of my interests. I still remember driving to go pick up my Pyrex at her house in South Minneapolis. I even coordinated with Jessica to come a long for back up. Just in case. After all, it is craigslist!

So sometimes my hobbies amalgamate nicely. I like to cook. I like cooking with vintage bake ware. I like presenting friends with the things I've made in my vintage bake ware.

If you happen to have the #221 Pyrex cake pan, this recipe fits nicely into it. The cake didn't rise too much and I thought the blackberries looked lovely in the hot pink Pyrex cake pan!


Blackberry Ricotta Cake

1 1/2 cups all-purpose flour
3/4 cup sugar
2 teaspoons baking powder
3/4 teaspoon kosher salt
3 large eggs
15 oz Trader Joe's ricotta
1 teaspoon vanilla extract
1/2 cup (1 stick) unsalted butter, melted
1 cup frozen blackberries, divided
zest of medium lemon
juice from half of the lemon

Preheat oven to 350°F. Line a #221 size Pyrex cake pan with parchment paper and lightly coat with nonstick spray. I used leftover butter, to butter up the sides.

Whisk eggs, ricotta, and vanilla in a Pyrex 404/444 or medium bowl bowl until smooth, add zest and lemon juice; fold into dry ingredients just until blended. Then fold in butter, followed by 3/4 cup blackberries, taking care not to crush berries. Scrape batter into prepared pan and place remaining 1/4 cup blackberries over top.

Bake cake until golden brown and a toothpick inserted into the center comes out clean, 50–60 minutes. Let cool at least 20 minutes before removing from the cake pan.

Do ahead: Cake can be made 2 days ahead. Store tightly wrapped at room temperature.

February 21, 2017 /V
Pyrex, Breakfast Recipes, Pyrex 221, Pyrex In Action
Baking, Vintage Pyrex
2 Comments

American Pyrex

July 05, 2016 by V in Vintage Pyrex, Baking

Every time there's a holiday, I wish I was more prepared - with clothing, decorations and especially food. This year, I whipped together a quick (yes, I doctored cake mix) 4th of July Celebration Cake and I was quite happy with the result.

I was happy I got to use my pink desert dawn Pyrex 231 bakeware. Due to it's small size, I often use it as a way to store leftovers instead of putting it to better use (like letting it hang out in the oven). This 4th of July - it got to be the supporting star!

The Pyrex 231 holds 1.5 quarts. Measurements are about 11.5 x 6.5 and 2 inches deep.

The frosting is inspired by the kind you get at Asian Bakeries. It's heavy whipping cream based - light and fluffy, but not very sweet. I never liked the super sweet frosting. To me, it takes away from the cake.

I couldn't bring it to the park, where the holiday celebration included an orchestra playing Tchaikovsky's 1812 Overture (complete with real cannons!) and banh mi sandwiches on a picnic blanket. The frosting would have melted because it was so hot and quite frankly, I couldn't have transported it there without somehow compromising the visuals.

So after returning home, the 4th of July holiday ended with a piece of cake! Try it next year...or use this recipe to put together another creation for the next holiday!


American Pyrex Cake
serves about 12 (depending on how big you cut the slices!)

Cake:
1/2 box of yellow cake mix
2 eggs + 1 egg white
1/2 cup whole milk
2 TBSP butter, melted
2 TBSP olive oil
1 1/2 tsp vanilla extract

Frosting:
1 1/2 cup heavy whipping cream
2 TBSP powdered sugar
1 1/2 tsp vanilla extract

Toppings:
Strawberries, trimmed and cut in half
blueberries, about 30

Preheat oven to 350F/180C.

For the cake, mix together all wet ingredients in a small bowl. Then pour it into the bowl with the cake mix. Try to use a spatula and mix a few times, don't over mix or it will make a tough cake! Pour into greased Pyrex 231 bakeware. Stick in oven for 20-22 minutes.

For the frosting, using a large bowl and a hand mixer, mix all ingredients until soft peaks form. Put frosting in fridge until ready to frost!

When the cake is cooled, apply the frosting and arrange the fruit to your heart's liking!

July 05, 2016 /V
Pyrex 231, Dessert Recipes, Pyrex In Action
Vintage Pyrex, Baking
Comment
ombrerhubarb

Rhubarb Ombré Mochi Cake w/ Lilac Jelly

June 13, 2016 by V in Vintage Pyrex, Baking

Summer is finally here!

Sarah of Colorado Crafted and Two Tarts reminded me it was summer when she posted a beautiful picture of her Rhubarb Cake on Facebook. I later found out she was inspired by the rhubarb recipe she saw on Smitten Kitchen and I naturally had to try to make this beautiful cake for my own brunch party.

I didn't have all the ingredients necessary to make the picnic bars on Smitten Kitchen, so I decided to research how to make my rhubarb chevron pattern with another recipe for a dense cake. This got me thinking to my recent trip to Hawaii and the wonderfully dense and delicious blueberry mochi cake that my friend had made. Ever since I came back to the mainland, I wanted to try it...so here we are!

Over the weekend,  I went searching for rhubarb at the Minneapolis Farmer's Market. I searched every booth for the perfect gradient colors to go into our Rhubarb Ombré Cake, but couldn't find the right combination from any one stall. At the end, I decided the best thing to do was to buy the beautiful red stalks we saw from one stall and the speckled green ones from another one.

After gathering your ingredients, perfectly gradient rhubarb and the right pan (preferably the Pyrex 232 bakeware) It is important to cut the rhubarb into perfect parallelograms to get three columns of the chevron pattern into my Pyrex 232 pink desert dawn baking pan!

If I make this again next time, I am definitely going to have less green rows and more of the red rows. Even though the gradient was beautiful - it didn't shift to red fast enough for me. I guess I am particular to the color red.

I have so much rhubarb left and will need to figure out what to do with the rest of my stalks. Rhubarb jam, anyone?

Try my recipe and let me know what you think!

Oh and it's gluten-free!


Rhubarb Ombre Mochi Cake

Cake:
1/2 cup butter (melted)
2 cups coconut sugar
1 1/2 cups vanilla yogurt
1 teaspoon vanilla extract
4 eggs
1 pound mochiko (1 box)
2 teaspoons baking powder
1 cup diced rhubarb

Topping:
About two stalks rhubarb cut into parellelograms
1/4 cup melted jelly of your choice (I used lilac jelly)

Preheat oven to 350F/180C.

Mix the butter and sugar in a large bowl.
Mix in the yogurt and vanilla extract.
Mix in the eggs.
Mix in the mochiko and baking powder.
Mix in the rhubarb.
Pour the batter into a greased Pyrex 232 baking pan (or a 9X13 pan).
Bake in oven until golden brown on top and a toothpick pushed into the center comes out clean, about 1 hour.

After the cake is slightly cooled - brush warmed jelly onto the rhubarb for a glossy and glamorous appearance!

Parallelogram Tips: Cut the stalks in half. Then while they are sandwiched, cut them into parallelograms. Try to arrange them outside of the pan first to make sure you have the requisite number of columns first. Once you feel certain, then duplicate the rest of the cuttings and arrange! Ta Da!

June 13, 2016 /V
Dessert Recipes, Breakfast Recipes, Pyrex In Action
Vintage Pyrex, Baking
2 Comments
Turquoise024

Crocheting for Pyrex

September 18, 2015 by V in Vintage Pyrex, Crochet

Sometime ago, I was catching up with a college friend and he asked me, "So, what do you like to do other than Grandma activities?"

It's fun having friends tease you in a lighthearted manner, but I get that there's always a little bit of truth to a joke. I do really like time consuming activities. Slowly perusing huge antique malls and carefully approaching each booth to see what the dealers have displayed (really, whether they found Pyrex for me) and learning all about "mid century modern" and guessing at items I don't know much about when the LTE signal is too weak inside the huge building for me to confirm anything. I also like touching yarn and trying my hand at crochet patterns. There's something about working on a DIY project and being able to see the finished product. Whether it's a cute baby dress or a pot holder!

Maybe there's something fun about loving an activity that should not be "stereotypically" what someone like me should be doing (whatever someone like me even means!). Like people who meet me and think if I'm Chinese I love cooking and eating Chinese food all the time. When I do, I do love it. But that's not all that's me. My brother and I love spaghetti, hot dogs and hamburgers. We grew up eating that at school. Now we also like eating shoyu chicken, poke and sushi. Maybe part of that is influenced by our love of Hawaii...but mostly because we like to eat good food and why wouldn't anyone want to eat shoyu chicken every day? All this to say that we are the sum of all our experiences. I can love things older than me. I can be Chinese and American.

Pyrex024withlid
crochetmandelavenora

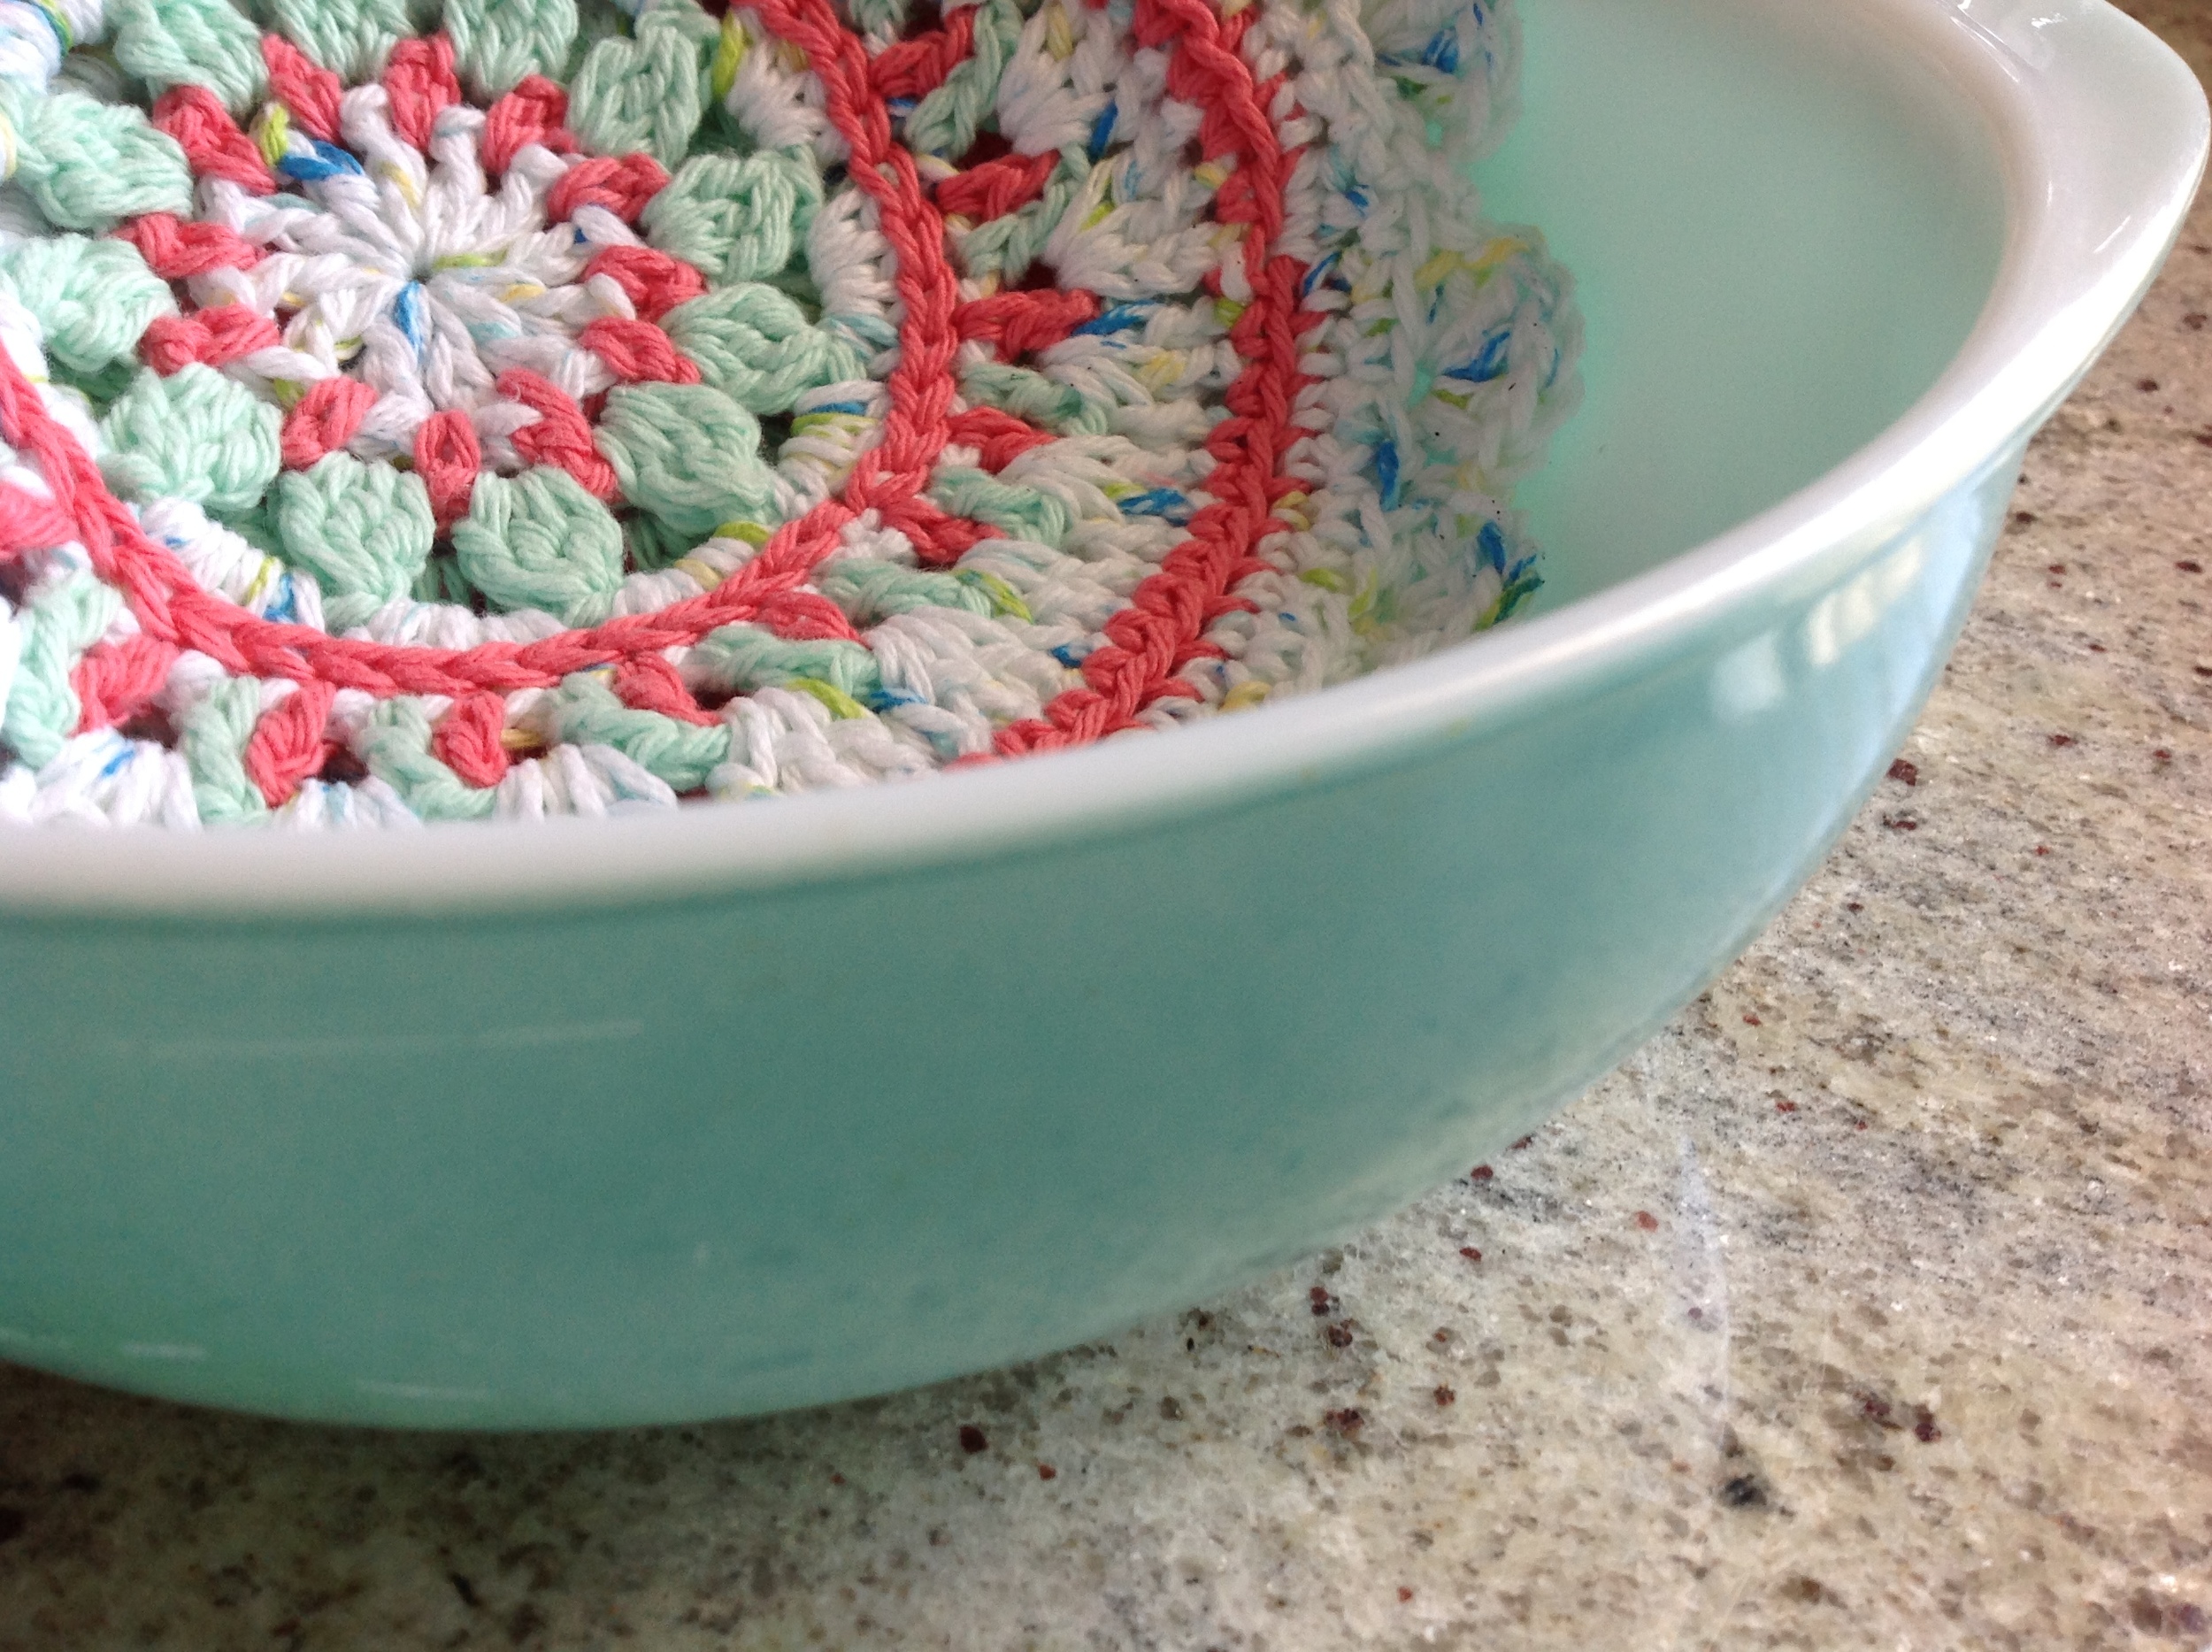
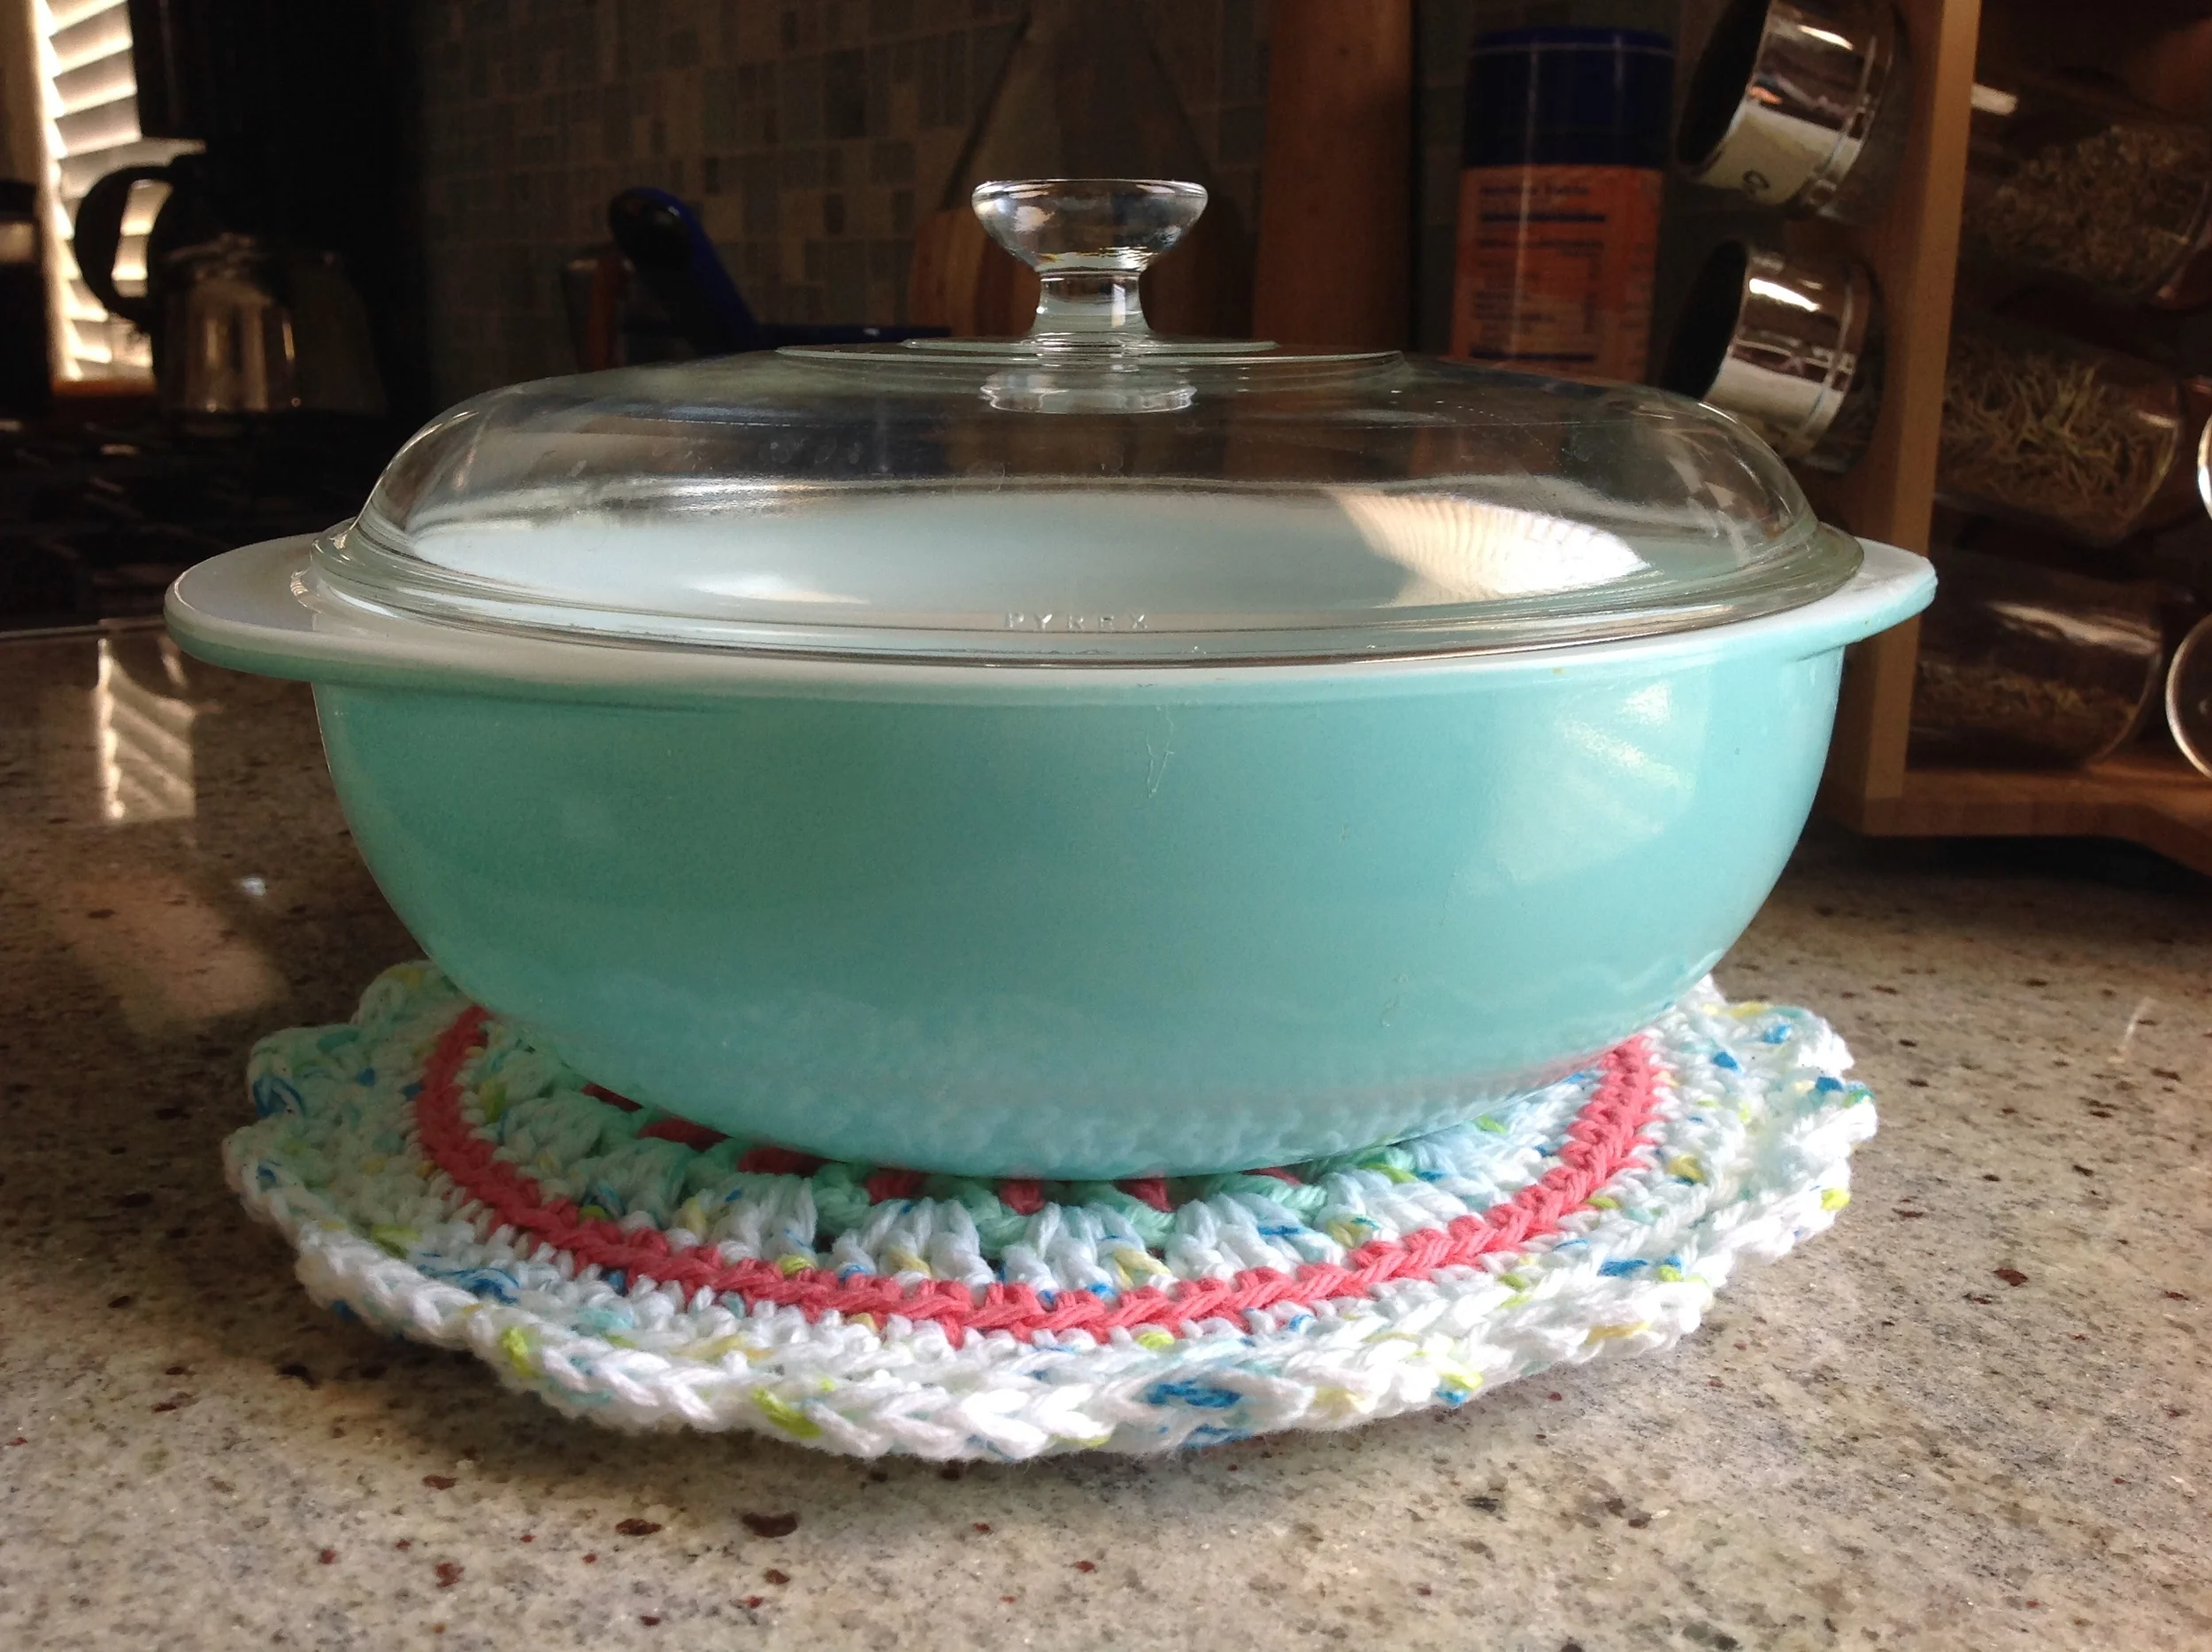
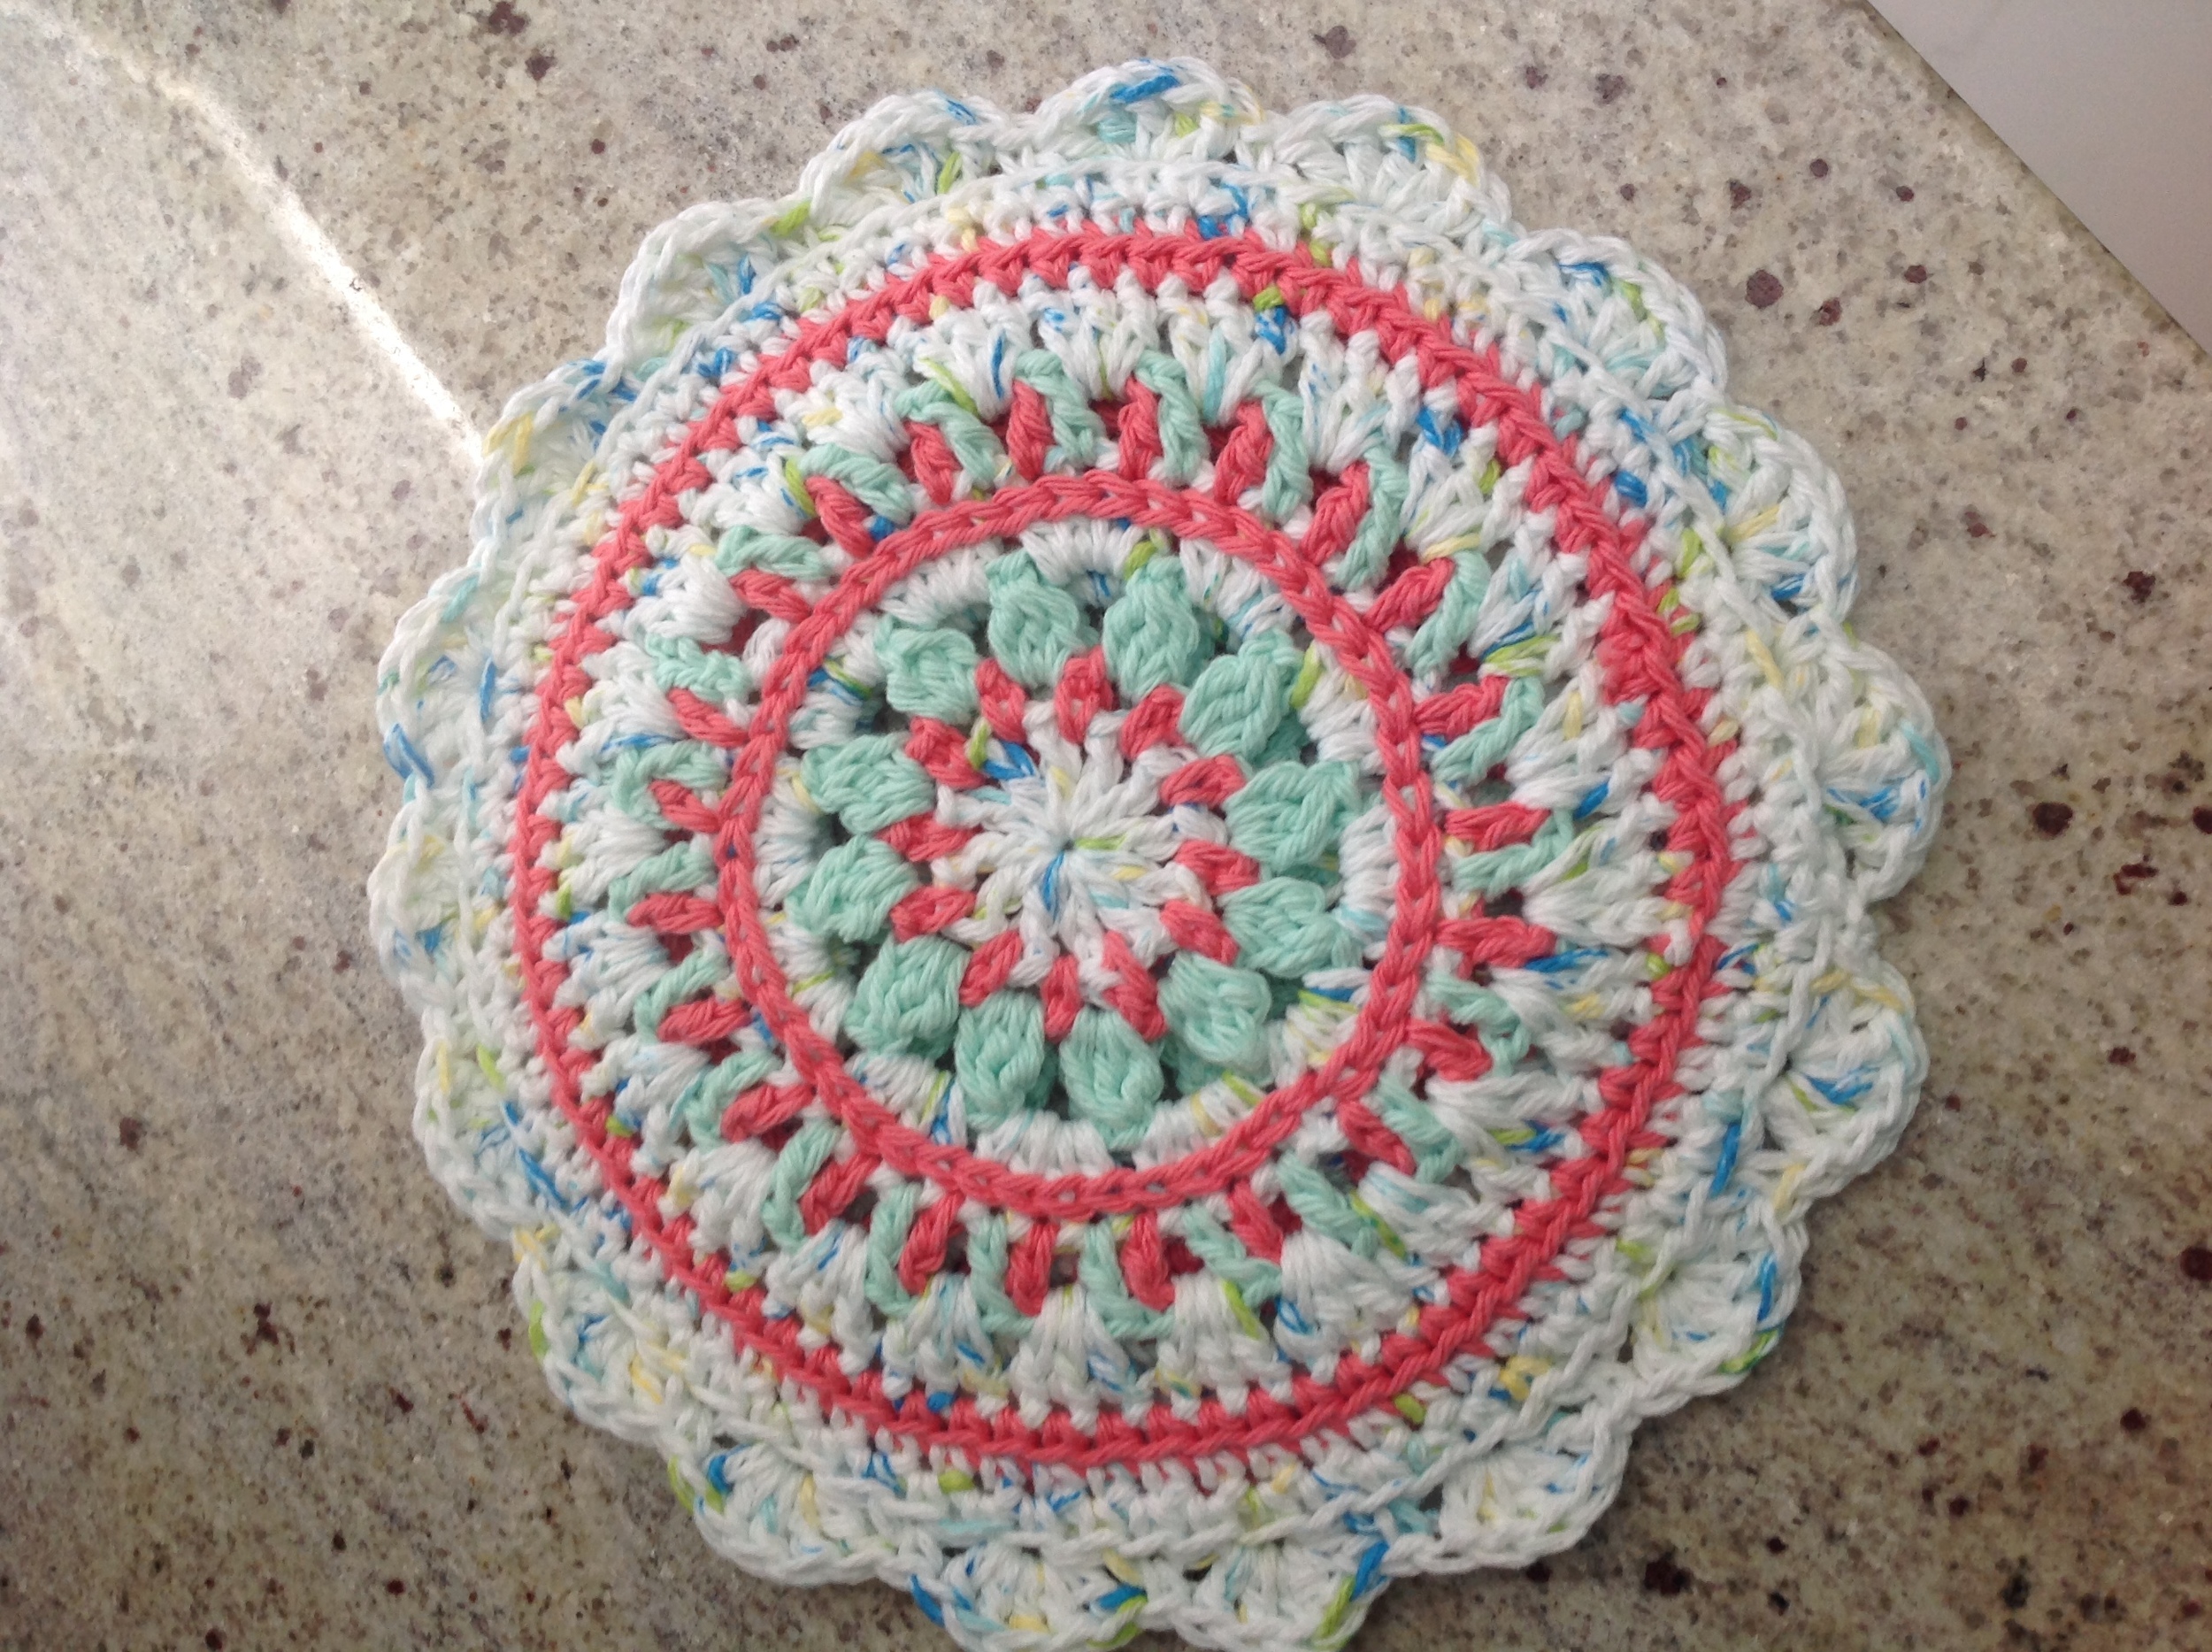
Recently, I saw some photos of broken Pyrex on one of my facebook groups. There's something about Pyrex and granite counter tops. If you don't set it gently on the counter top the Pyrex will explode into shards. I decided I'd make more potholders because of this. I came across this beautiful crochet pattern called Little Spring Mandela and decided to make some for my turquoise Pyrex I picked up over 4th of July weekend.

Crochetmandela

For now, when my Pyrex 024 is on the counter...it will safely rest on one of my crocheted potholders. Maybe I'll sell my extra potholders to buy more Pyrex or maybe I'll just keep crocheting for the safety of my Pyrex. Either way...I win!


Venora's Twist on the Little Spring Mandela

Follow the Little Spring Mandela pattern up to Row 7.

8th Round (new color): work sc into every space, join with a slip stitch to first sc, finish off

9th Round (new color): work sc into every space, join with a slip stitch to first sc, finish off

Make two of these! Place the wrong sides together and match them up as best you can.

9th Round (same color and join both pieces): sc , work *(1sc, skip one stitch, 5dc, skip one). Repeat * around, join with a slip stitch to first sc, finish off

September 18, 2015 /V
Pyrex 024, Turquoise Pyrex
Vintage Pyrex, Crochet
2 Comments

Blowing Leaves on a Spring Day

June 02, 2015 by V in Vintage Pyrex

A few months ago, I really wanted to buy something Pyrex in Houston. I have the worst luck here. I have only found one other item in a thrift store - the Snowflake Garland #403 Mixing Bowl (and a Dish Water Damaged (DWD) Blue 502 which totally doesn't count) and really wanted something more out of this city. 

Then, one day, while Yelping, I found out about Thompson's Antiques and drove there immediately. I started hunting and zeroing in on anything that resembled Pyrex. Then suddenly something appeared. On the bottom shelf, of a vendor who didn't sell much Pyrex, I saw this odd turquoise colored 024 casserole dish. It has a design with white leaves drifting in the wind. I had never seen it before, and being the novice that I am, turned it around and around with my hands to inspect it more carefully. Nope, never heard of this design or seen it. Maybe it's one of those "promo" items people keep writing about. I even carried it around the store for a few rounds of deep contemplation. Should I buy this? Is it worth it? Do I have too much Pyrex? Finally, it was nearing time to leave. So, I made a split second decision (ok, it wasn't) to adopt this strange Pyrex and give it a home.

Later, I find out this promotional Pyrex pattern is called "Blowing Leaves" and it had fetched over $300 on an eBay auction. I was so happy to know that my gut instinct to purchase this item was so spot on. :) 

I got over my fear of ruining such an expensive and sought after piece of Pyrex and decided to make a salad with it. For now, I'm not going to risk using this piece in the oven!

I made Musakhan to go with this and originally wanted to use one of my oblong Pyrex casseroles to have a complete Pyrex in Action (PIA) dinner, but a simple google search advised against using Pyrex when using the broil function.

What do you make in your 024s? I have one more of these at home that I will write about someday but I think I've only used them for salads.


I put all the ingredients directly into my Blowing Leaves Pyrex casserole. You should too! Any 024 will do!

Blowing Leaves Salad

2 large roma tomatoes, diced
1 small cucumber, diced
1 avocado, diced
2 cloves garlic, mashed
3 sprigs of green onion, thinly sliced
1/2 of a jalapeno (should be the size of a small pinky), REMOVE the inside seeds!! and diced
1 medium lime
1/2 medium lemon
2 TBSP olive oil, or a bit more according to taste
salt and pepper to taste

Combine all items. Squeeze the lemon and lime into the salad. Add olive oil, salt and pepper to taste.

You can't just make a salad without serving it with some food. As one of my brother's friends once said, "You don't make friends with salads!" And it's kinda true. So here's the recipe for the chicken dish I served with the Blowing Leaves Salad. Don't use Pyrex for this next dish because it requires broiling. It's better to use a metal pan when you're exercising that function of your oven! This is the "healthy" version...I tried not to drench it with olive oil though it probably tastes way better the "Palestinian" way. I modified Sawsan's recipe from Chef in Disguise.

Healthy, but tasty Musakhan - Palestinian Sumac Chicken with Sauteed Onions

4 chicken leg quarters

3 medium onions, chopped
1/4 cup sumac, or more according to taste
1/8 tsp cardamom
1/4 cup olive oil

pita bread
salt and pepper to taste

wedges of lemon, optional
chopped parlsey, optional
1/4 cup sauteed slivers of almonds, optional

Preheat oven to 375. Line a metal pan with foil and place the chicken legs on it. Generously add salt and pepper. Bake for 30 minutes.

In the meantime, preheat a large pan, add a bit of the oil into the pan and when it heats up, add the onions. After it starts sizzling, add the sumac, rest of the oil and salt and pepper. Cook until translucent about 10-15 minutes depending on how crowded the onion is in your pan.

In a small pan, heat up a bit of olive oil, add 1/4 cup of slivered almonds. When it starts sizzling, turn off the heat. Immediately transfer onto a dish with a paper towel to absorb all the oil. Be careful! Remove almonds here with slotted utensil so that the oil drains before you put it onto the dish.

On a plate, place one whole pita bread, scoop some of the sumac onion mixture onto it. Add a chicken leg and then scoop some more of the sumac onion mixture on it. Squeeze on a splash of lemon juice. For garnishments, add some chopped parlsey and sauteed almond slivers. 


June 02, 2015 /V
Turquoise Pyrex, Pyrex 024, Blowing Leaves Pyrex, Recipes
Vintage Pyrex
2 Comments

Lo-J means Loquat Jam 'Round Here

May 13, 2015 by V in Vintage Pyrex, Pyrex Butterfly Gold

Foraging is quite a dangerous activity in the urban jungle. You never know what pesticides are being sprayed on what you're picking or if some grumpy old man is going to run out of his front door yelling at you with a shot gun. I guess I justify this danger by remembering that I most likely consume harmful toxins every day – from the laundry detergent I use on my pillow cases to the highly processed foods that I have to, ashamedly, confess I love. AND finally I run the risk of dying in a road rage mishap anyway...being a stereotypical Asian female driver on the roads in Houston, it's likely that I'll be at the risk of angering a Texan who loves the 2nd amendment.  In this spirit, what’s wrong with ingesting a few more bad things?

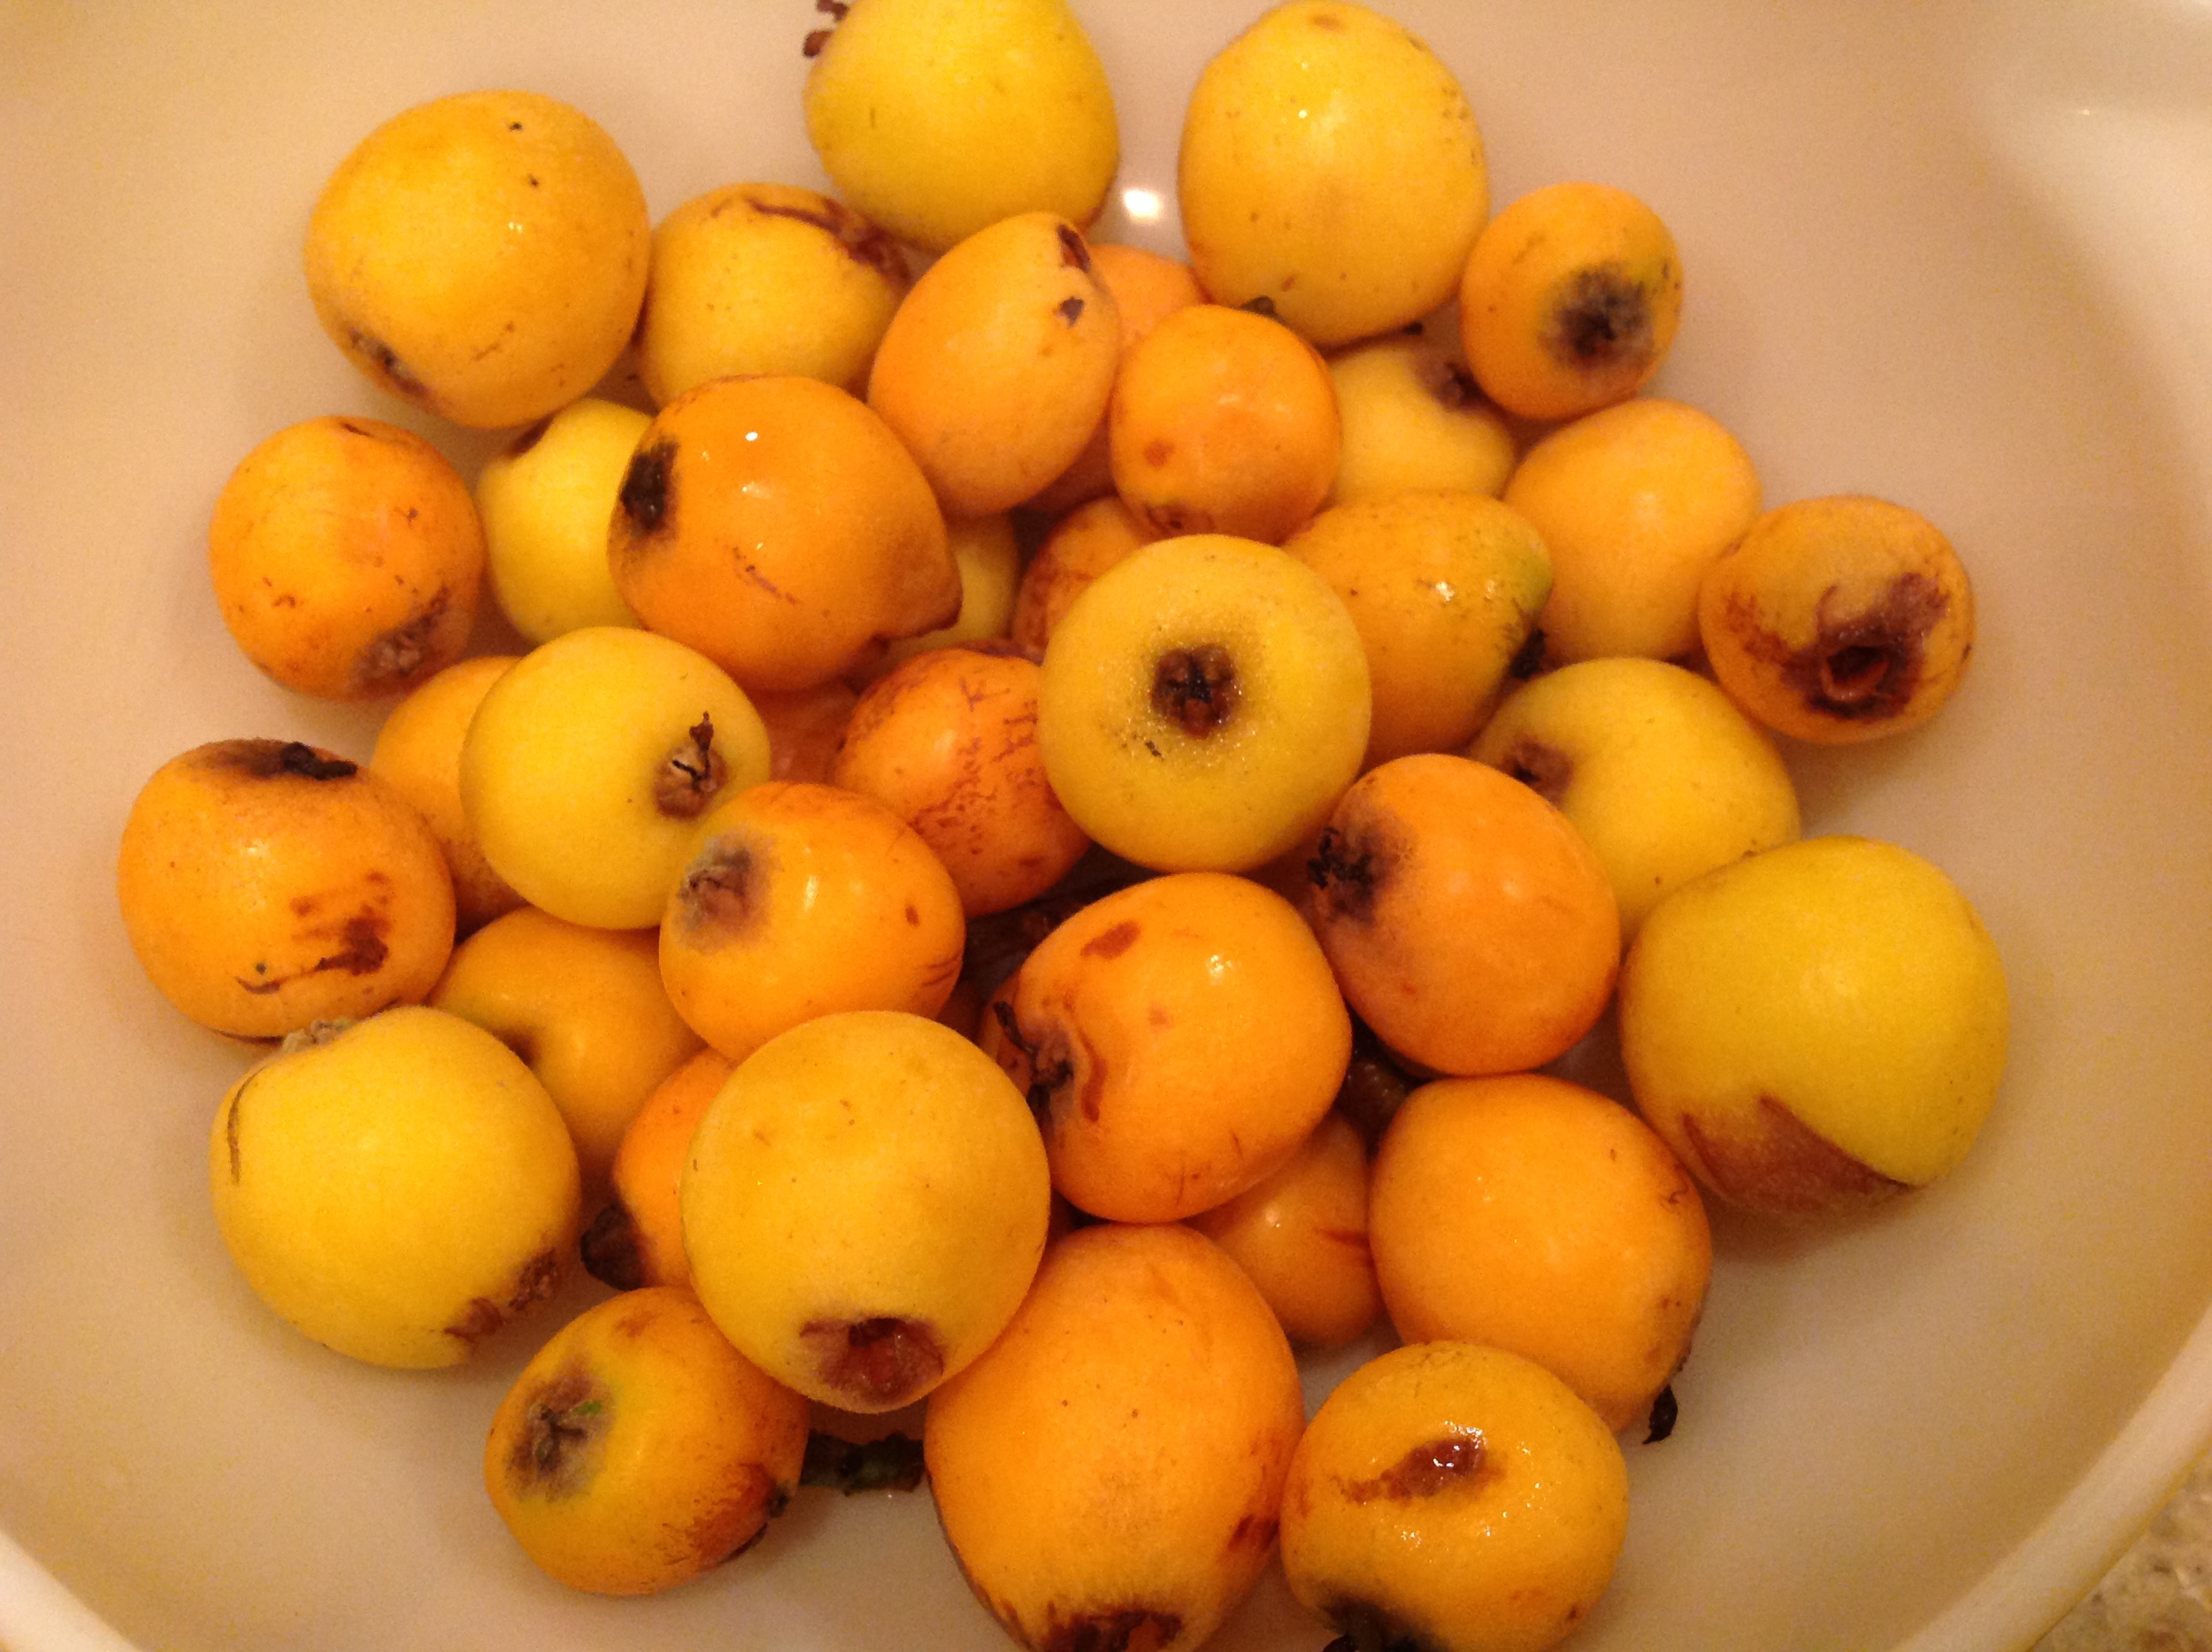
I thought it would be good to take the photos of the loquats in my Butterfly Gold Cinderella 444 bowl because I like the layers of repeating colors. The color of these loquats are totally reminiscent of this Pyrex pattern. And I didn't use any photo filters in this post. The spring is here! And color actually does not need to be messed with or maybe that's just my excuse for being too lazy!

LoquatDisplayPyrex

Loquats are rampant around Houston right now. I see these brightly colored fruits on trees all over the city. On sidewalks, perched near the windows in peoples’ houses, and along some busy city streets there are some gigantic branches peeking over tall fences. Trying to exercise a bit of the foraging etiquette I know…I don’t go into people’s property, but if I see them draped into the public walk way, it’s unpopularity evidenced by so many fruits rotting on the ground, then we’ll pick some and take them home. Save it from its misery so to speak.

Now I’ve visited a few of these trees around the city and it seems that they vary in color and flavor. Some are more yellow than orange (may be due to how ripe it is as well as the tree). Some are smaller in size than others. Some have bigger seeds than others. And some are WAY sweeter than others. We’re still novices when it comes to the loquat, but at least now I have a few secret places around town if I ever want some more of these cute little fruits. Fine, this isn’t quite as exciting as having a special morel spot, but one day I’ll get to that game.

I used some of my Lo-J as toppings on my muffins. I put a dollop of the jam in the middle of each muffin before putting them in the oven. There are so many ways you can eat this - with bread and cheese as a fruit preserve on the side or on your favorite brioche. It's all going to depend on how you party in the kitchen.


Easy Lo-J (Loquat Jam) 

2 cups deseeded loquats, coarsely chopped
1/4 cup water (or a little more according to the consistency you want)
1/8 cup sugar
1/8 cup brown sugar
1/2 tsp cinnamon
1/4 tsp cardamom 
1 tsp vanilla extract
1/3 cup dried cranberries, or other dried fruit (optional)

Stew the loquats in a covered pot, with the water, sugar, and brown sugar until the liquid is reduced and the fruit is tender, but not brown (or it will sort of end up like mine! even though it still tasted fine.  Add all the remaining ingredients, and allow to cool covered. 

You can only keep this in the fridge for up to a week. But you most likely won't have a problem figuring out how to incorporate it into every meal!

May 13, 2015 /V
Butterfly Gold, Cinderella 444, Pyrex 4 Quart
Vintage Pyrex, Pyrex Butterfly Gold
2 Comments

Rolling with the Rajasthanis

April 27, 2015 by V in Vintage Pyrex, Travel

I followed Sumina to her family's kitchen in Jodphur, Rajasthan. She invited me to come join her family for the Gangaur Festival. Many guests were expected for the multi-day festival so they hired help to feed the guests. In India, some type of grain was eaten with every meal and where people are largely vegetarian - this was an important aspect of the meal. There were really two questions every day: 1) Are we eating puri? Or roti? 2) And with what vegetable?

Everyday, I watched the kitchen staff make the roti or puri from scratch. Sometimes, I tried to participate. It was quite the endeavor for me to roll a perfectly circular shape. Sumina said you get five rolls to get the shape. And I agree with her. After that, it just gets too flat and too big. You have to get the pressure and the angle right to do this quickly and perfectly. Or face a bit of judgment from the ladies, but all in good fun.

On the day the guests came, the puri making migrated outdoors onto the Jodphur blue roof top deck. There, we had more space to sit on the floor and roll hundreds of puri for the guests that evening. Once the dough was made, we even divided the duties into portioning out the dough, shaping it into a ball, rolling it into a circle, passing it to the fryer, and frying it. We had quite the production line going. It was nearly a hundred degrees outside and we were all sitting next to a propane tank with a hot wok of boiling oil, but in India, somehow you ignore the same dangers that you would balk at in America.

I always think breakfast is such a personal thing. Everyone has a unique routine and a different idea of what breakfast means. My go-to routine was always the lack of one so sitting down for a prepared breakfast every day was such a treat. I learned the joy of not reaching for a granola bar in the pantry. One morning we had Upma, a savory semolina based dish mixed with veggies. Another morning, we got these roti sandwiches filled with a cauliflower and green onion medley. Sumina says you can easily get the latter at most Indian restaurants in the U.S. I have yet to sample outside of the Bhatti household.

unnamed (13).jpg

What I thought was the most fun about Jodphur was how people shopped for groceries. And by that, I mean how they actually have groceries delivered to them! Every day a vegetable cart comes down the street between 11 am and 3 pm and people can buy what they need directly from this grocer on wheels!

Dinners were always various veggie dishes with different grains and spices. Several families hosted us for dinner and they all had stainless steel ware to serve their food. Many of them are passed down from generation to generation. Sumina's grandfather passed on some plates engraved with his name that her father (Uncle) still uses. In this case, stainless steel (although less attractive) is much more durable than vintage Pyrex.

And the sweets! Indians LOVE sugar. I thought that every time someone asked me if I wanted sugar in my tea or chai. At first, I said a little...and soon figured out it was much better to just go "naked" and sneak in the sugar myself at a later time.

Desserts in Rajasthan are often a combination of different types of flour, sugar and spices. Two that I really found notable were 1) bars that had nuts, raisins and spices 2) donuts filled with crystalized sugar and coated with a sugar icing. If you know their real names, please comment below!

Uncle introduced me to the "cheeku" fruit which I've never noticed before. 

Now, back safely in the comforts of America, I still miss some of the food that was accessible to me all the time while in Rajasthan. I decided to make a kitchen sink style Upma for myself. I had farina, but didn't have semolina, mustard seed or dal. I think the spirit is still there!


Upma

1 cup roasted semolina/sooji/rava/farina (fine variety)
1 medium sized onion, chopped finely
1 can of mixed vegetables
½ inch ginger grated or chopped finely
2.5 cups water
½ tsp cumin seeds/jeera
1 to 2 tsp sugar (optional) or add as required
2 tbsp chopped parsley
2 tbsp oil or ghee
salt as required

Heat a pan and add 1 cup of the grains you chose. Begin to roast it, stirring often while roasting it. The grains should become fragrant and start to look dry, separate and crisp. Make sure not to brown it and remove it from the heat and transfer to a plate and keep aside.

In a pan, heat 2 tbsp ghee or oil. Add 1 tsp cumin seeds until fragrant, then add the finely chopped onions and saute the onions till they become translucent. Add ginger and saute for a minute. Add 2.5 cups water to this mixture. add salt as required. Then if using sugar, add it. Stir well. On a medium to high flame, heat the water and let it come to boil. Then, lower the flame to its lowest. Add the grain in 4 to 5 batches with a spoon. Once you add the grain, stir immediately. The grains will absorb the water. Add can of mixed vegetables. Cover and allow the grains to steam for 2 minutes. Switch flame and let it sit for a few more minutes.

Just before serving, sprinkle with parsley and serve it with a side of lime.

For the record, the Pyrex Space Saver is what I used to store leftovers! I can't seem to find a photo of it right now, but may edit the post to show you later.

April 27, 2015 /V
Pyrex Space Saver
Vintage Pyrex, Travel
1 Comment

Hello Chocolate Mousse

April 06, 2015 by V in Vintage Pyrex

The first written record of chocolate mousse is from 1892. If you like chocolate mousse, you can claim that you have quite the taste buds for all things antique. I have never made chocolate mousse prior to trying this recipe and then I made it three times within the next two weeks. Mostly because I bought the pound plus chocolate bar from Trader Joe's (it's only $5) and a huge jug of heavy whipping cream from Costco for this recipe. I had so much leftover ingredients that I decided to make one more batch. And then another.

unnamed (1).jpg

I decided to make chocolate mousse with my Snowflake Blue #403 2.5 quart Pyrex mixing bowl I recently found at Goodwill in Houston. It greeted me as I walked through the front entrance. I was pretty happy since I never find Pyrex out in the wild in Houston. The best place for Pyrex I've seen so far is at the Old Blue House Antiques. The lady behind the counter (who I think is the owner) said she's known as the Pyrex queen. There's a pretty sizable collection and there are items I've only seen online and never in real life. So if there's a hard to find piece you're looking for - it may very well be at this store. Although, it's a bit pricey.

unnamed2.jpg

I also came across the cutest Hello Kitty dessert bowls at Rice Brothers Coffee Co. It's a combined coffee shop and thrift shop owned by two brothers. They are sharing the space so they can each go after their dreams. The proceeds of the thrift store goes towards a job training program for homeless men. I love going there to see what new things are in the store and find that it's clean, fun and welcoming. 

Make this and let me know how yours turn out!


Chocolate Mousse
Adapted from Cook’s Illustrated, 2006

8 oz. bittersweet chocolate, ideally 60% cacao, finely chopped
2 TBSP Dutch-processed cocoa powder
1 tsp instant espresso powder (or use 1 1/2 tsp of instant coffee)
5 TBSP water
1 TBSP brandy (optional)
2 large eggs, separated
1 TBSP sugar, divided
1/8 tsp salt
1 cup plus 2 TBSP cold heavy cream

Combine the chocolate, cocoa powder, espresso powder, water, and optional brandy in a medium heatproof bowl. Place over a saucepan filled with 1 inch of gently simmering water, and stir frequently until the chocolate is melted and the mixture is smooth. (I just use the microwave and do this in 25 second intervals - make sure it doesn't boil - and stir until the chocolate is melted) Remove from the heat.

In another medium bowl (I used my Pyrex bowl for this step), combine the egg yolks, 1 ½ teaspoons sugar, and salt. Whisk until the mixture lightens to a pale yellow color and thickens slightly, about 30 seconds. Pour the melted chocolate mixture into the egg mixture, and whisk until combined. Set aside for about 5 minutes, until just warmer than room temperature.
In another medium mixing bowl, beat the egg whites on medium-low speed until frothy (I use a hand mixer). Add the remaining 1 ½ teaspoons sugar, and beat until soft peaks form when the whisk is lifted. Using the whisk, stir about ¼ of the beaten egg whites into the chocolate mixture, to lighten it. Then, using a rubber spatula, gently fold in the remaining egg whites until only a few white streaks remain.

Wipe clean the bowl from the previous step and whip the heavy cream at medium speed until it begins to thicken. Increase the speed to high, and whip until soft peaks form when the whisk is lifted. Using a rubber spatula, fold the whipped cream into the mousse until no white streaks remain. Spoon into 6 to 8 individual serving dishes - Cover with plastic wrap, and refrigerate until firm, at least 2 hours and up to 24 hours.

Yield: 6 to 8 servings


April 06, 2015 /V
Vintage Pyrex, Chocolate Mousse, Snowflake Garland #403, PIA
Vintage Pyrex
Comment

Powered by Squarespace