Venora's Vintage

  • Home
  • Recipes
  • Loves
    • Kitchen
    • Blogroll
  • Resources
    • Forum
    • Pyrex
  • About

Will Bake for Good Friends

February 21, 2017 by V in Baking, Vintage Pyrex

This weekend, I had a special friend, Rachel, over for lunch. Someone, who recently has inspired me to not only do what's comfortable, but to stretch and reach into that creative nook that rests sleepily inside of me. With having to "get it together" in so many facets of my life, sometimes I forget the fulfillment that comes from attempting to create, even if the end result isn't quite at the caliber that I wish it to be if I had spent more time nurturing the few artsy sparks that flicker around. I need to learn to not ignore those moments, but the better strategy may be actually making the space in my life to kindle the fire.

Making space means creating an environment where it doesn't seem like a hassle to do something creative. I equate this to the feeling I have when I am alone and hungry. Often, I think it most easy to go to a nearby drive thru or better yet, reheat some leftovers, and call it a meal because it's too much work to cook up a storm. When I'm in a good place and want to entertain friends, I like to make something home made to share. Even if it that means that I have to pull everything out of the cupboard to look for a specific vintage cake pan from my ever growing collection. Even if it means I have to put it all away when I find the item I need way in the back corner. Even if it looks from my kitchen like I got robbed. Maybe that's why I need to surround myself with people that inspire me. It makes me think life is worth the mess.

I was looking for the #221 Flamingo Pink Pyrex cake pan I bought five years ago on craigslist from Carolyn who now is a dear friend because she shares so many of my interests. I still remember driving to go pick up my Pyrex at her house in South Minneapolis. I even coordinated with Jessica to come a long for back up. Just in case. After all, it is craigslist!

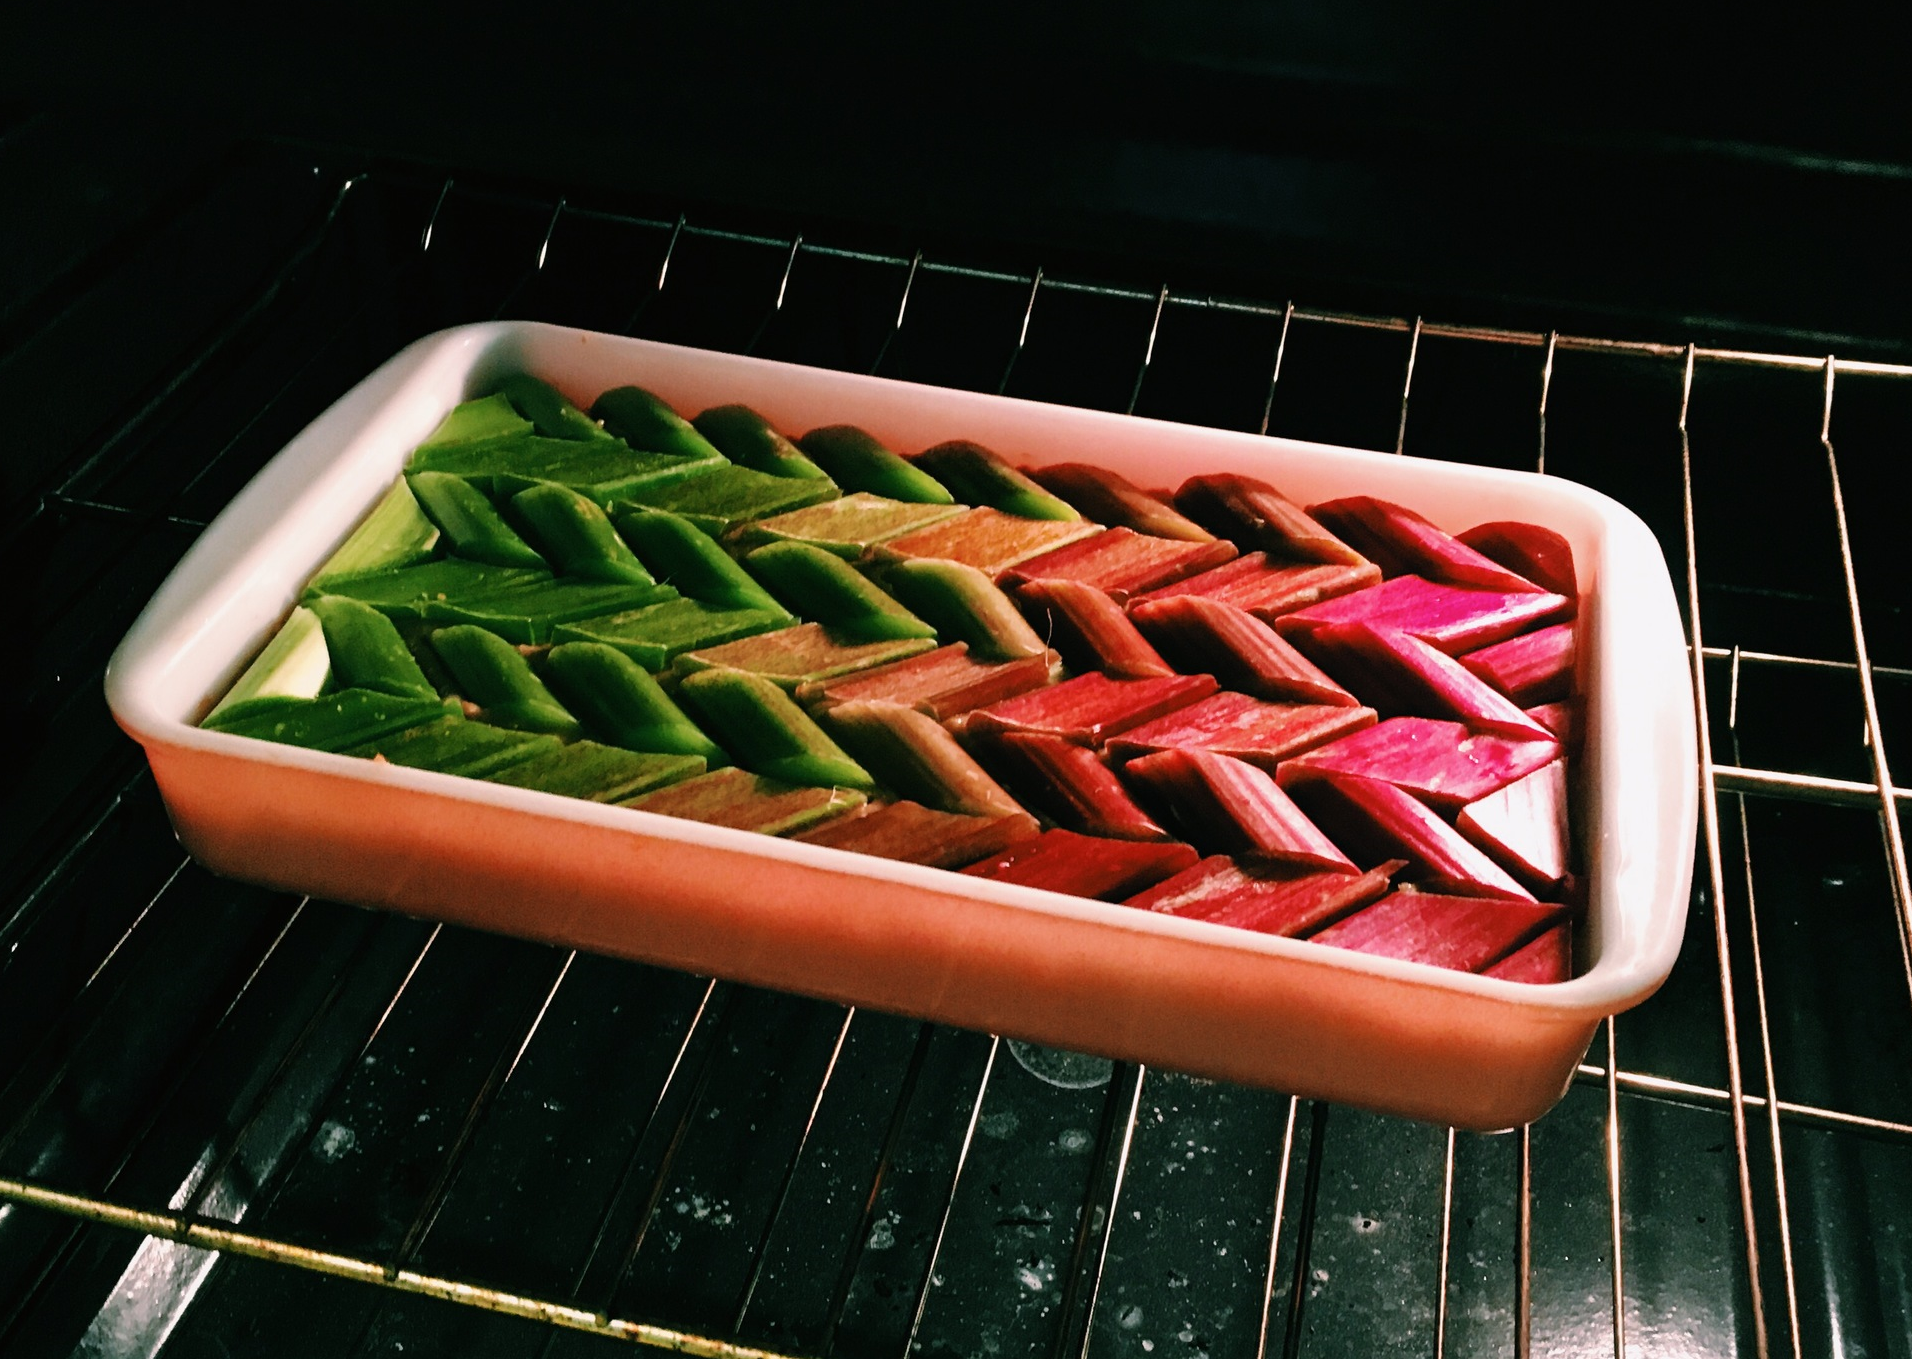
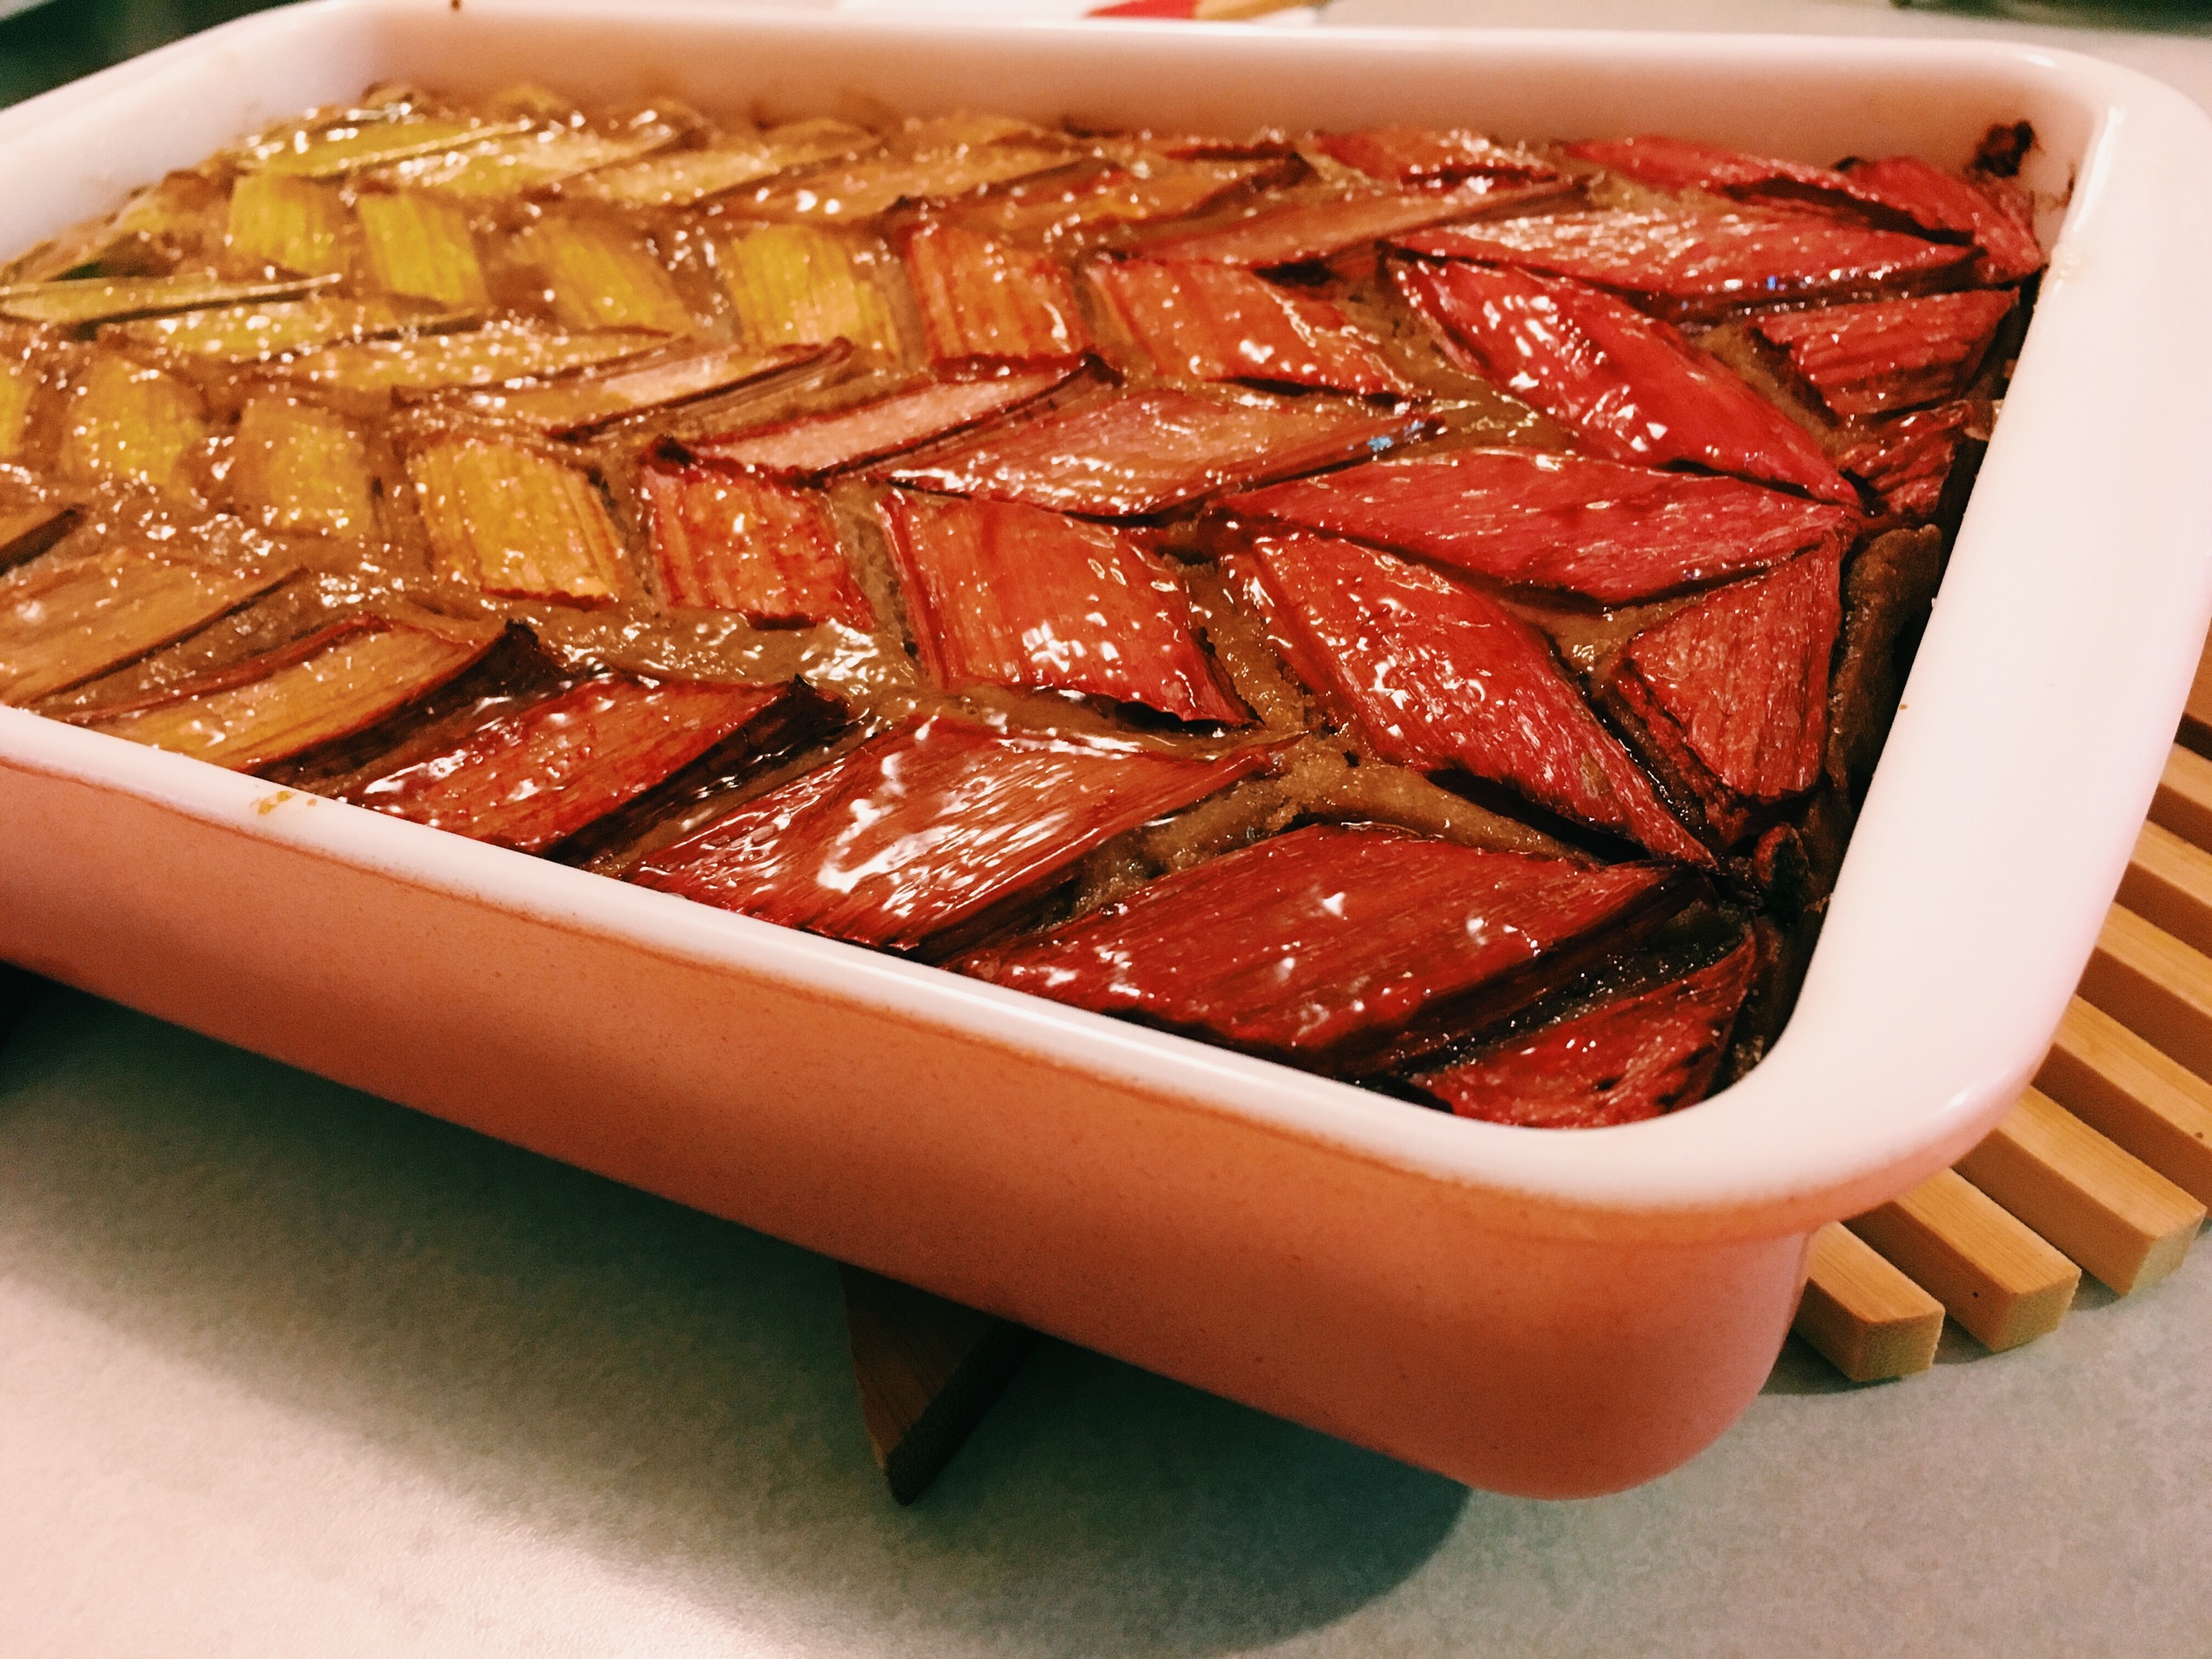
So sometimes my hobbies amalgamate nicely. I like to cook. I like cooking with vintage bake ware. I like presenting friends with the things I've made in my vintage bake ware.

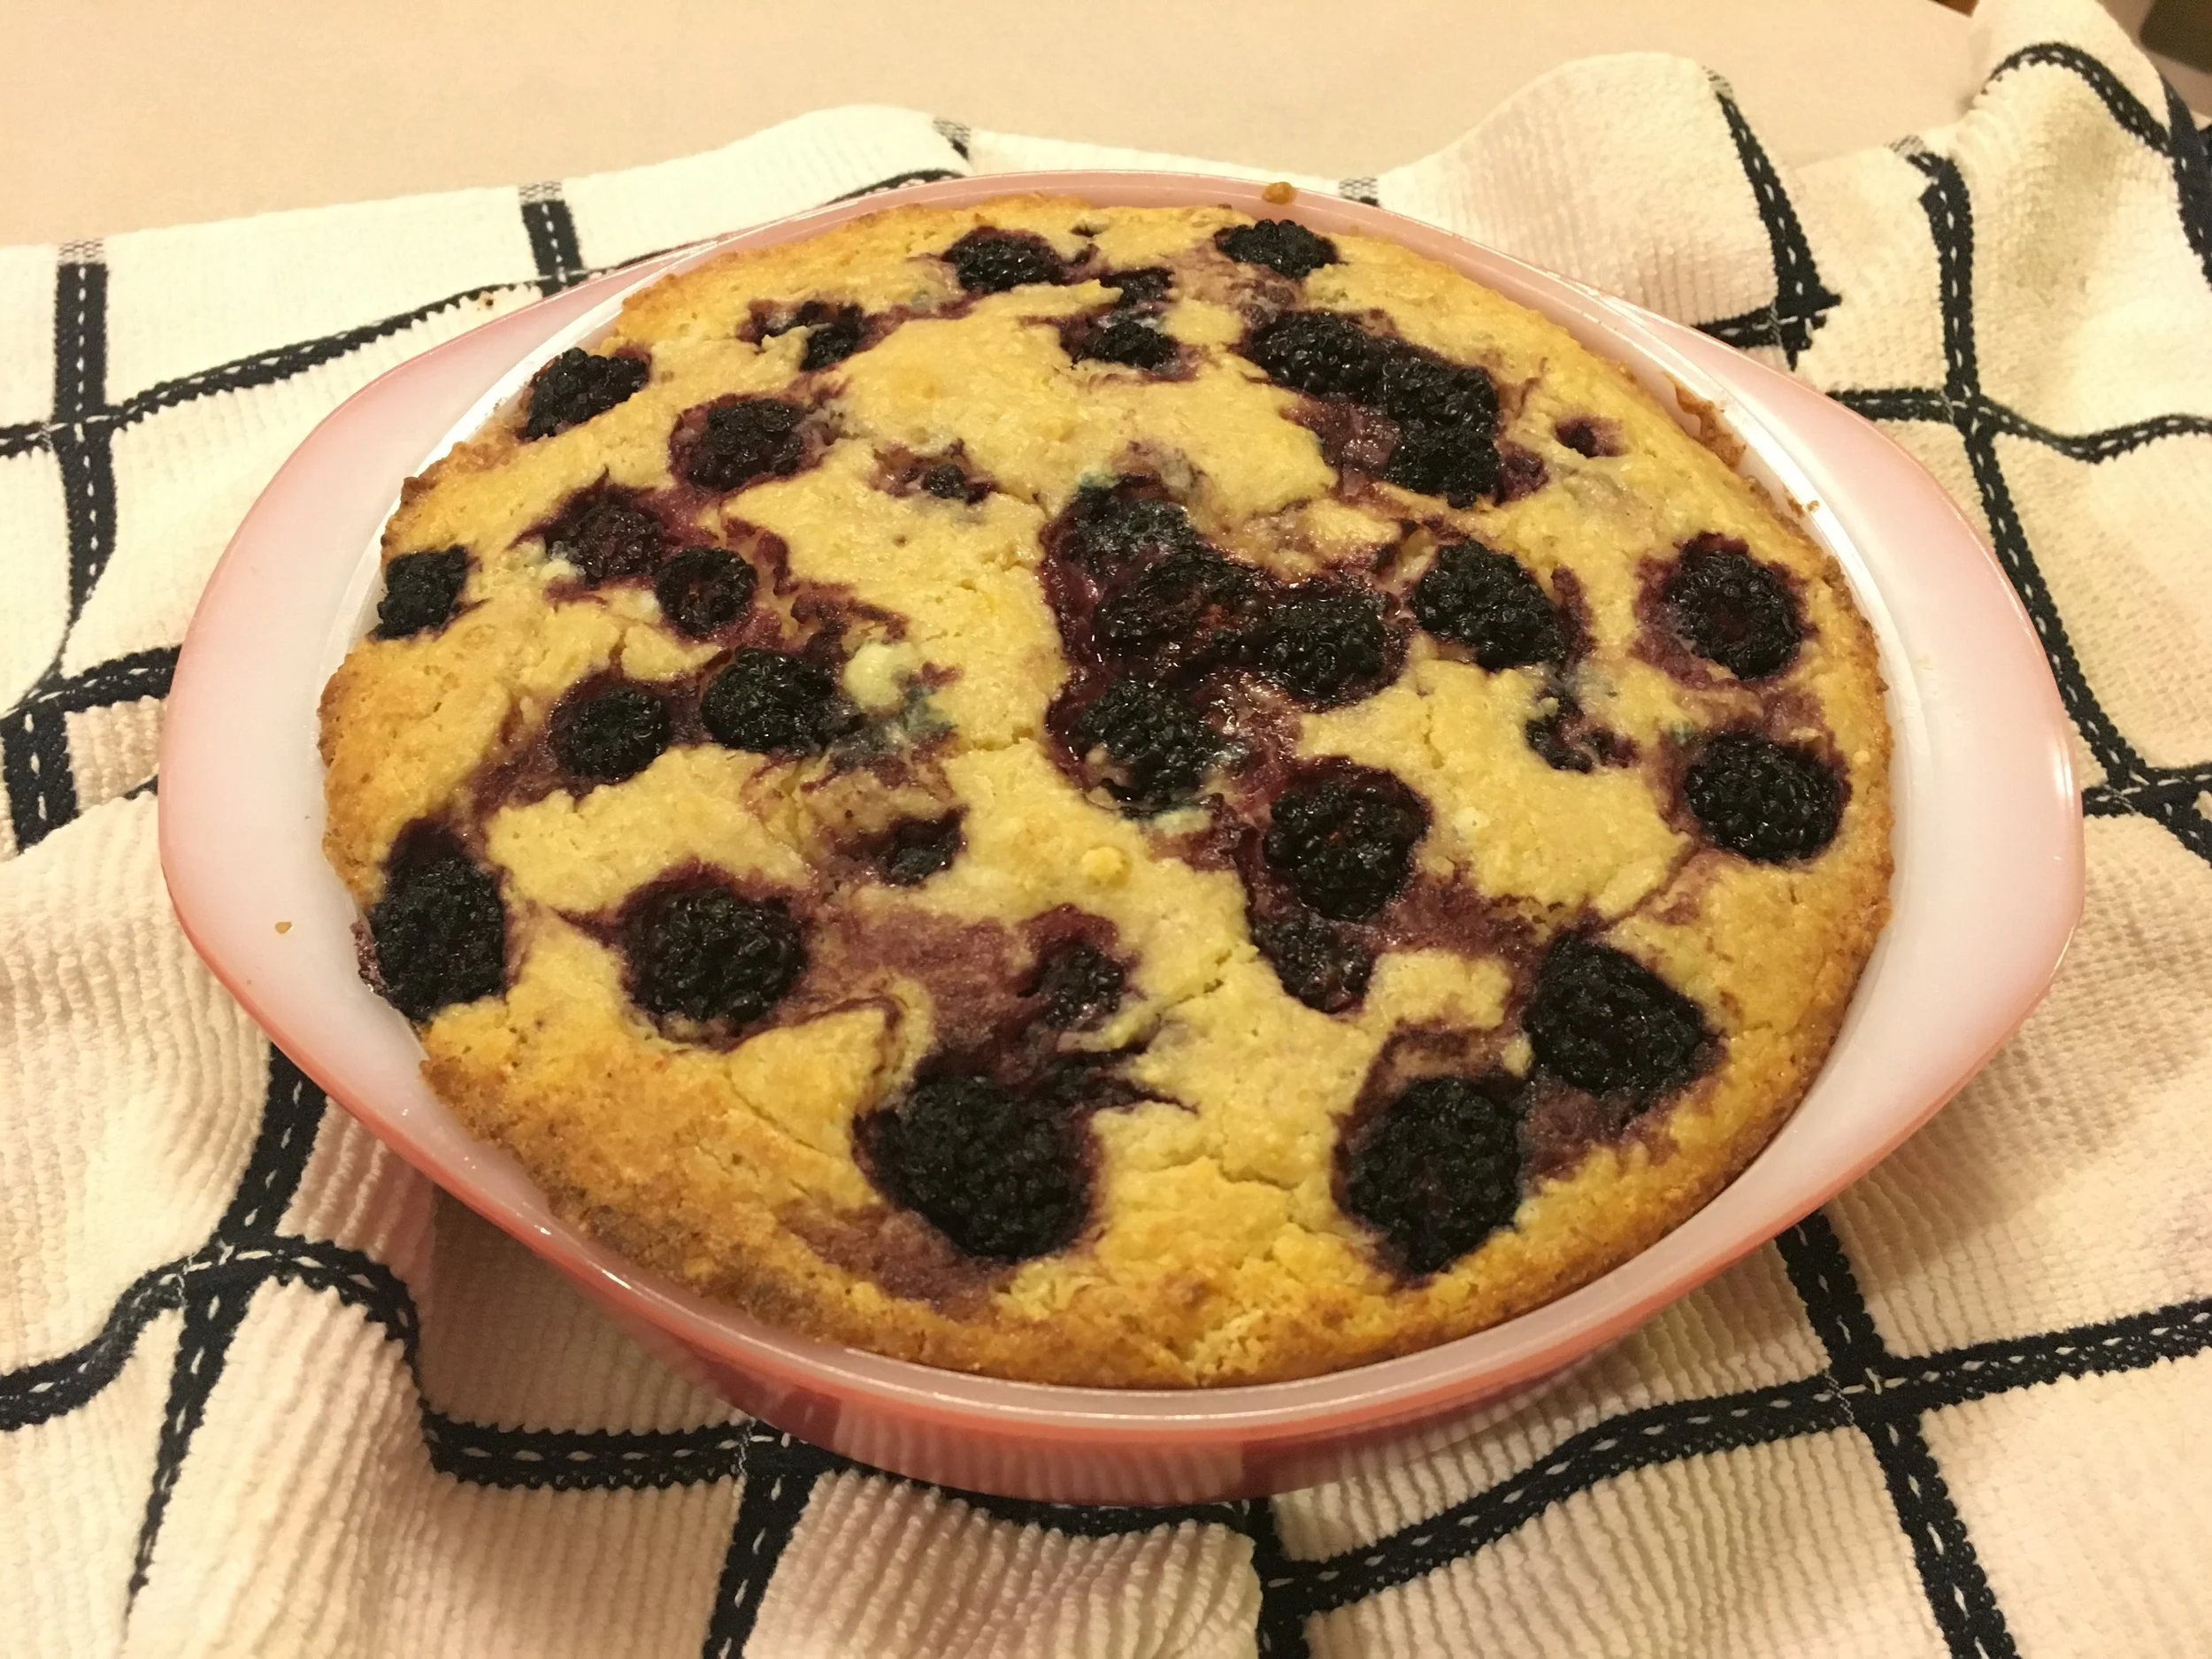
If you happen to have the #221 Pyrex cake pan, this recipe fits nicely into it. The cake didn't rise too much and I thought the blackberries looked lovely in the hot pink Pyrex cake pan!


Blackberry Ricotta Cake

1 1/2 cups all-purpose flour
3/4 cup sugar
2 teaspoons baking powder
3/4 teaspoon kosher salt
3 large eggs
15 oz Trader Joe's ricotta
1 teaspoon vanilla extract
1/2 cup (1 stick) unsalted butter, melted
1 cup frozen blackberries, divided
zest of medium lemon
juice from half of the lemon

Preheat oven to 350°F. Line a #221 size Pyrex cake pan with parchment paper and lightly coat with nonstick spray. I used leftover butter, to butter up the sides.

Whisk eggs, ricotta, and vanilla in a Pyrex 404/444 or medium bowl bowl until smooth, add zest and lemon juice; fold into dry ingredients just until blended. Then fold in butter, followed by 3/4 cup blackberries, taking care not to crush berries. Scrape batter into prepared pan and place remaining 1/4 cup blackberries over top.

Bake cake until golden brown and a toothpick inserted into the center comes out clean, 50–60 minutes. Let cool at least 20 minutes before removing from the cake pan.

Do ahead: Cake can be made 2 days ahead. Store tightly wrapped at room temperature.

February 21, 2017 /V
Pyrex, Breakfast Recipes, Pyrex 221, Pyrex In Action
Baking, Vintage Pyrex
2 Comments

American Pyrex

July 05, 2016 by V in Vintage Pyrex, Baking

Every time there's a holiday, I wish I was more prepared - with clothing, decorations and especially food. This year, I whipped together a quick (yes, I doctored cake mix) 4th of July Celebration Cake and I was quite happy with the result.

I was happy I got to use my pink desert dawn Pyrex 231 bakeware. Due to it's small size, I often use it as a way to store leftovers instead of putting it to better use (like letting it hang out in the oven). This 4th of July - it got to be the supporting star!

The Pyrex 231 holds 1.5 quarts. Measurements are about 11.5 x 6.5 and 2 inches deep.

The frosting is inspired by the kind you get at Asian Bakeries. It's heavy whipping cream based - light and fluffy, but not very sweet. I never liked the super sweet frosting. To me, it takes away from the cake.

I couldn't bring it to the park, where the holiday celebration included an orchestra playing Tchaikovsky's 1812 Overture (complete with real cannons!) and banh mi sandwiches on a picnic blanket. The frosting would have melted because it was so hot and quite frankly, I couldn't have transported it there without somehow compromising the visuals.

So after returning home, the 4th of July holiday ended with a piece of cake! Try it next year...or use this recipe to put together another creation for the next holiday!


American Pyrex Cake
serves about 12 (depending on how big you cut the slices!)

Cake:
1/2 box of yellow cake mix
2 eggs + 1 egg white
1/2 cup whole milk
2 TBSP butter, melted
2 TBSP olive oil
1 1/2 tsp vanilla extract

Frosting:
1 1/2 cup heavy whipping cream
2 TBSP powdered sugar
1 1/2 tsp vanilla extract

Toppings:
Strawberries, trimmed and cut in half
blueberries, about 30

Preheat oven to 350F/180C.

For the cake, mix together all wet ingredients in a small bowl. Then pour it into the bowl with the cake mix. Try to use a spatula and mix a few times, don't over mix or it will make a tough cake! Pour into greased Pyrex 231 bakeware. Stick in oven for 20-22 minutes.

For the frosting, using a large bowl and a hand mixer, mix all ingredients until soft peaks form. Put frosting in fridge until ready to frost!

When the cake is cooled, apply the frosting and arrange the fruit to your heart's liking!

July 05, 2016 /V
Pyrex 231, Dessert Recipes, Pyrex In Action
Vintage Pyrex, Baking
Comment
ombrerhubarb

Rhubarb Ombré Mochi Cake w/ Lilac Jelly

June 13, 2016 by V in Vintage Pyrex, Baking

Summer is finally here!

Sarah of Colorado Crafted and Two Tarts reminded me it was summer when she posted a beautiful picture of her Rhubarb Cake on Facebook. I later found out she was inspired by the rhubarb recipe she saw on Smitten Kitchen and I naturally had to try to make this beautiful cake for my own brunch party.

I didn't have all the ingredients necessary to make the picnic bars on Smitten Kitchen, so I decided to research how to make my rhubarb chevron pattern with another recipe for a dense cake. This got me thinking to my recent trip to Hawaii and the wonderfully dense and delicious blueberry mochi cake that my friend had made. Ever since I came back to the mainland, I wanted to try it...so here we are!

Over the weekend,  I went searching for rhubarb at the Minneapolis Farmer's Market. I searched every booth for the perfect gradient colors to go into our Rhubarb Ombré Cake, but couldn't find the right combination from any one stall. At the end, I decided the best thing to do was to buy the beautiful red stalks we saw from one stall and the speckled green ones from another one.

After gathering your ingredients, perfectly gradient rhubarb and the right pan (preferably the Pyrex 232 bakeware) It is important to cut the rhubarb into perfect parallelograms to get three columns of the chevron pattern into my Pyrex 232 pink desert dawn baking pan!

If I make this again next time, I am definitely going to have less green rows and more of the red rows. Even though the gradient was beautiful - it didn't shift to red fast enough for me. I guess I am particular to the color red.

I have so much rhubarb left and will need to figure out what to do with the rest of my stalks. Rhubarb jam, anyone?

Try my recipe and let me know what you think!

Oh and it's gluten-free!


Rhubarb Ombre Mochi Cake

Cake:
1/2 cup butter (melted)
2 cups coconut sugar
1 1/2 cups vanilla yogurt
1 teaspoon vanilla extract
4 eggs
1 pound mochiko (1 box)
2 teaspoons baking powder
1 cup diced rhubarb

Topping:
About two stalks rhubarb cut into parellelograms
1/4 cup melted jelly of your choice (I used lilac jelly)

Preheat oven to 350F/180C.

Mix the butter and sugar in a large bowl.
Mix in the yogurt and vanilla extract.
Mix in the eggs.
Mix in the mochiko and baking powder.
Mix in the rhubarb.
Pour the batter into a greased Pyrex 232 baking pan (or a 9X13 pan).
Bake in oven until golden brown on top and a toothpick pushed into the center comes out clean, about 1 hour.

After the cake is slightly cooled - brush warmed jelly onto the rhubarb for a glossy and glamorous appearance!

Parallelogram Tips: Cut the stalks in half. Then while they are sandwiched, cut them into parallelograms. Try to arrange them outside of the pan first to make sure you have the requisite number of columns first. Once you feel certain, then duplicate the rest of the cuttings and arrange! Ta Da!

June 13, 2016 /V
Dessert Recipes, Breakfast Recipes, Pyrex In Action
Vintage Pyrex, Baking
2 Comments

Powered by Squarespace